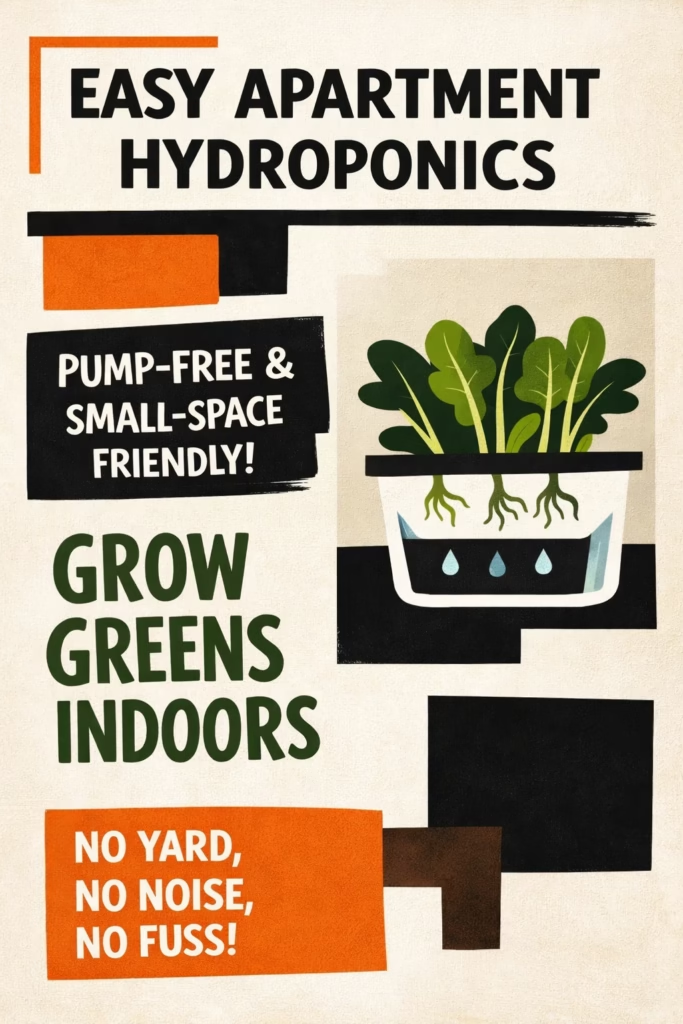
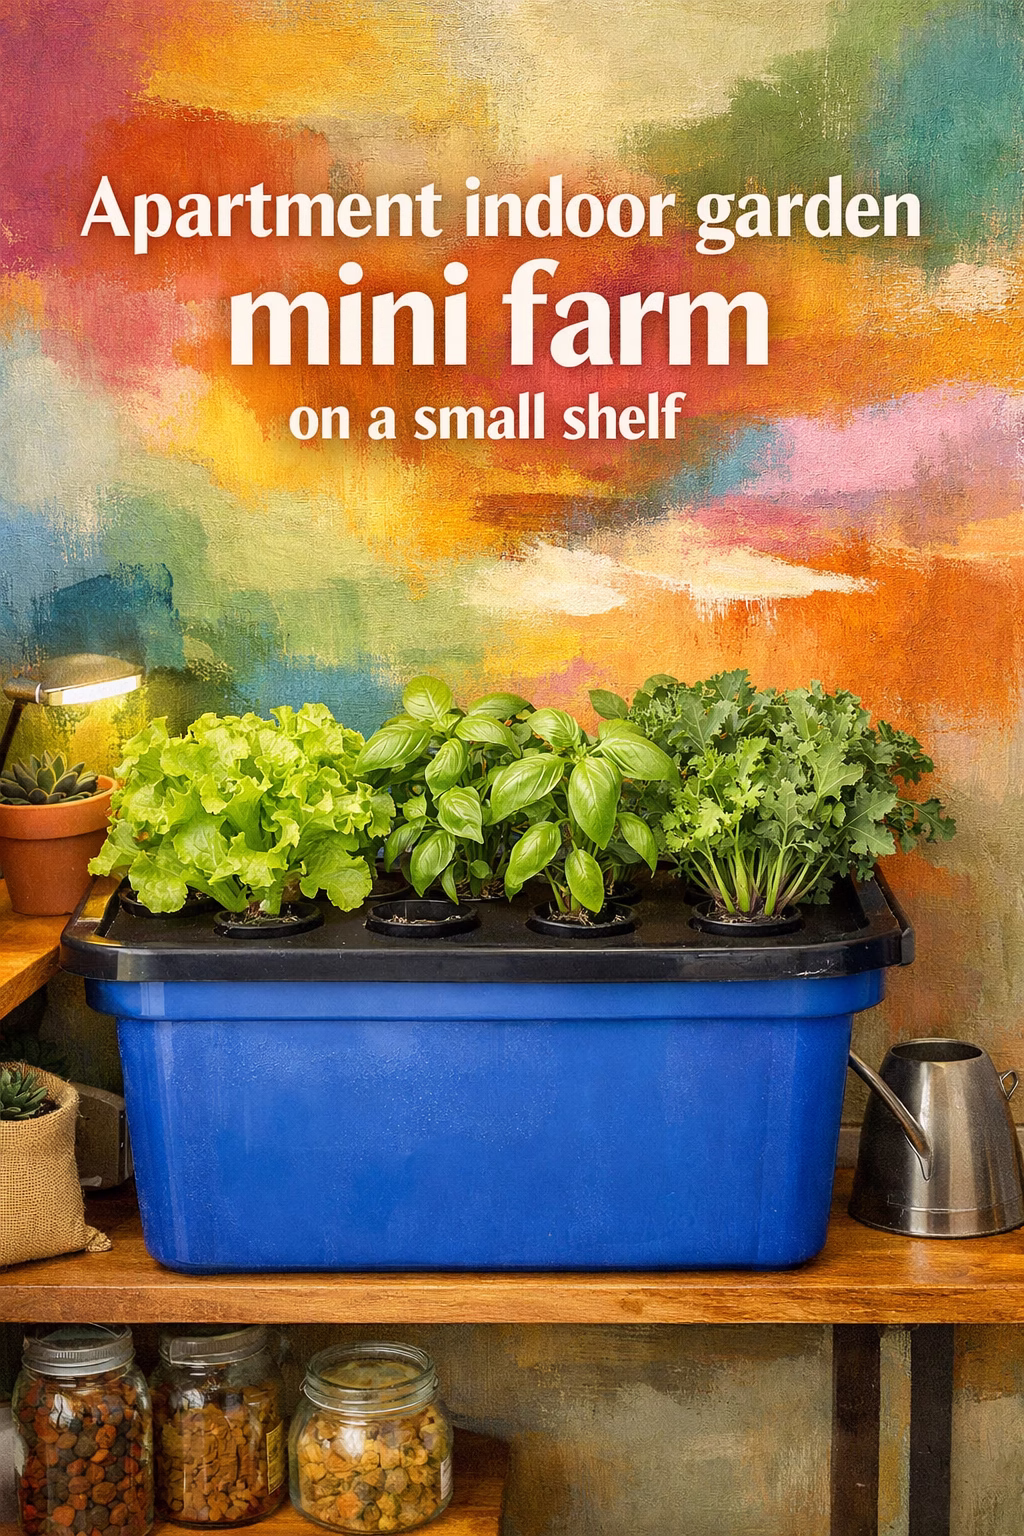
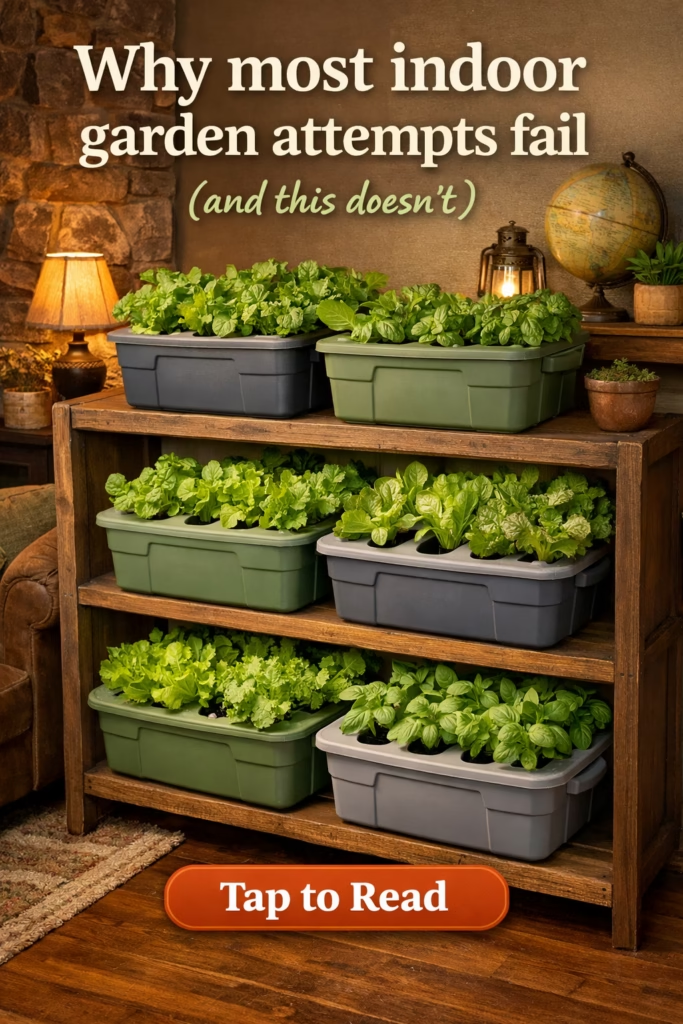
If you’ve been Googling apartment hydroponics for beginners, you’ve probably noticed two things pretty quickly: first, a lot of setups look way more complicated than they need to be, and second, the “beginner” options still somehow assume you have unlimited counter space, unlimited patience, and an interest in babysitting plants like it’s a new hobby.
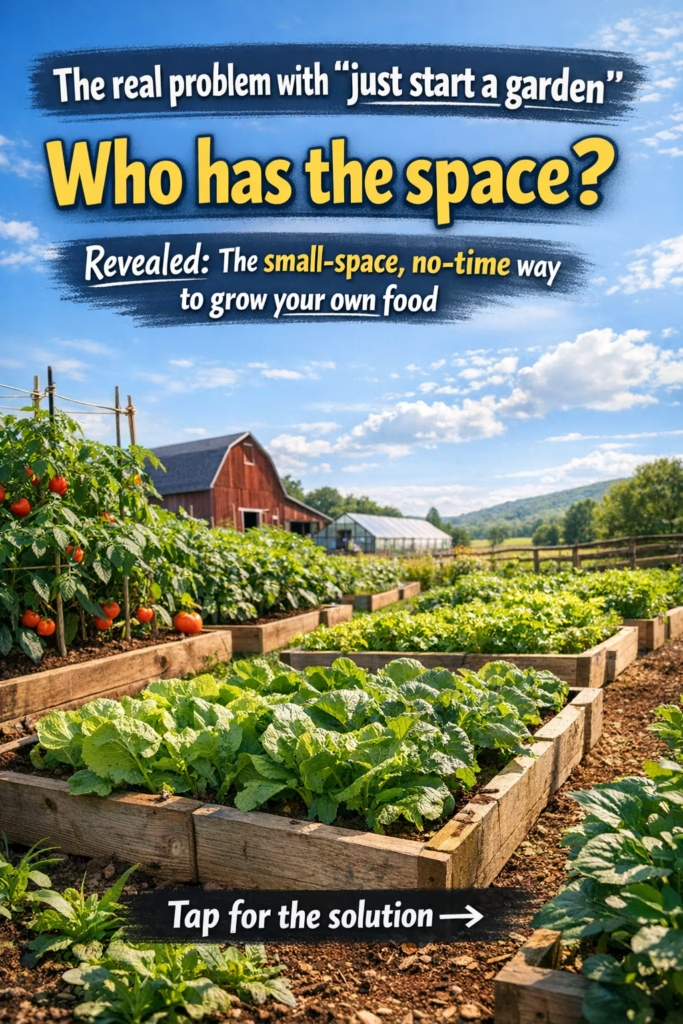
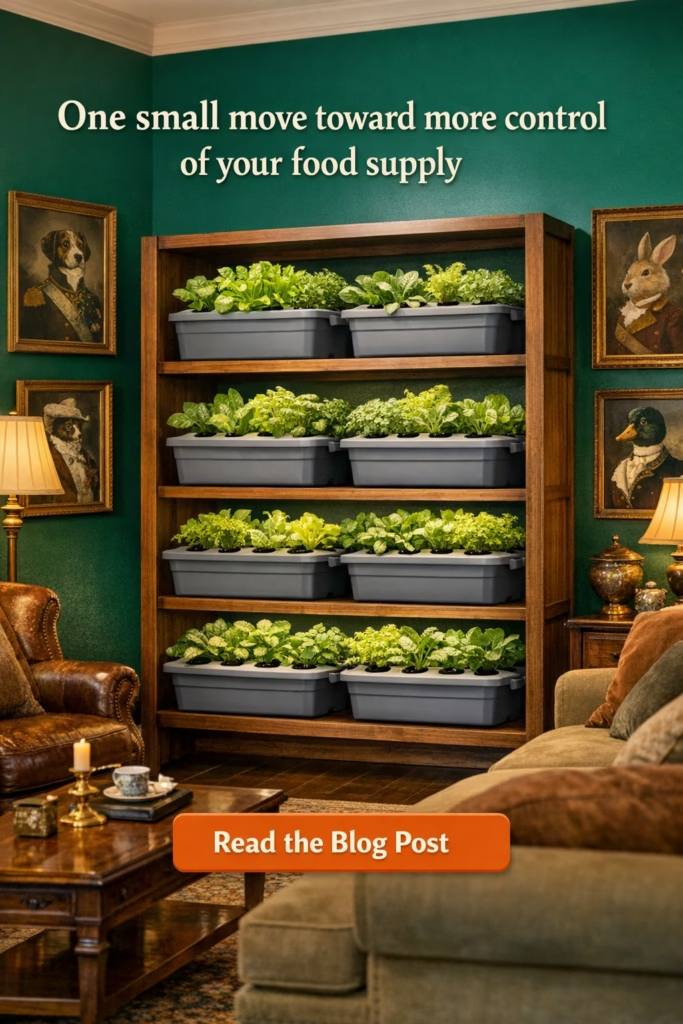
Most people don’t actually want “hydroponics.” What they want is an indoor garden that produces real food without needing a yard, without making noise, and without becoming one more thing to manage. They want something simple enough that it keeps running even when life gets busy, and they want the kind of setup that still works when you’re tired, distracted, or not in the mood to troubleshoot anything.
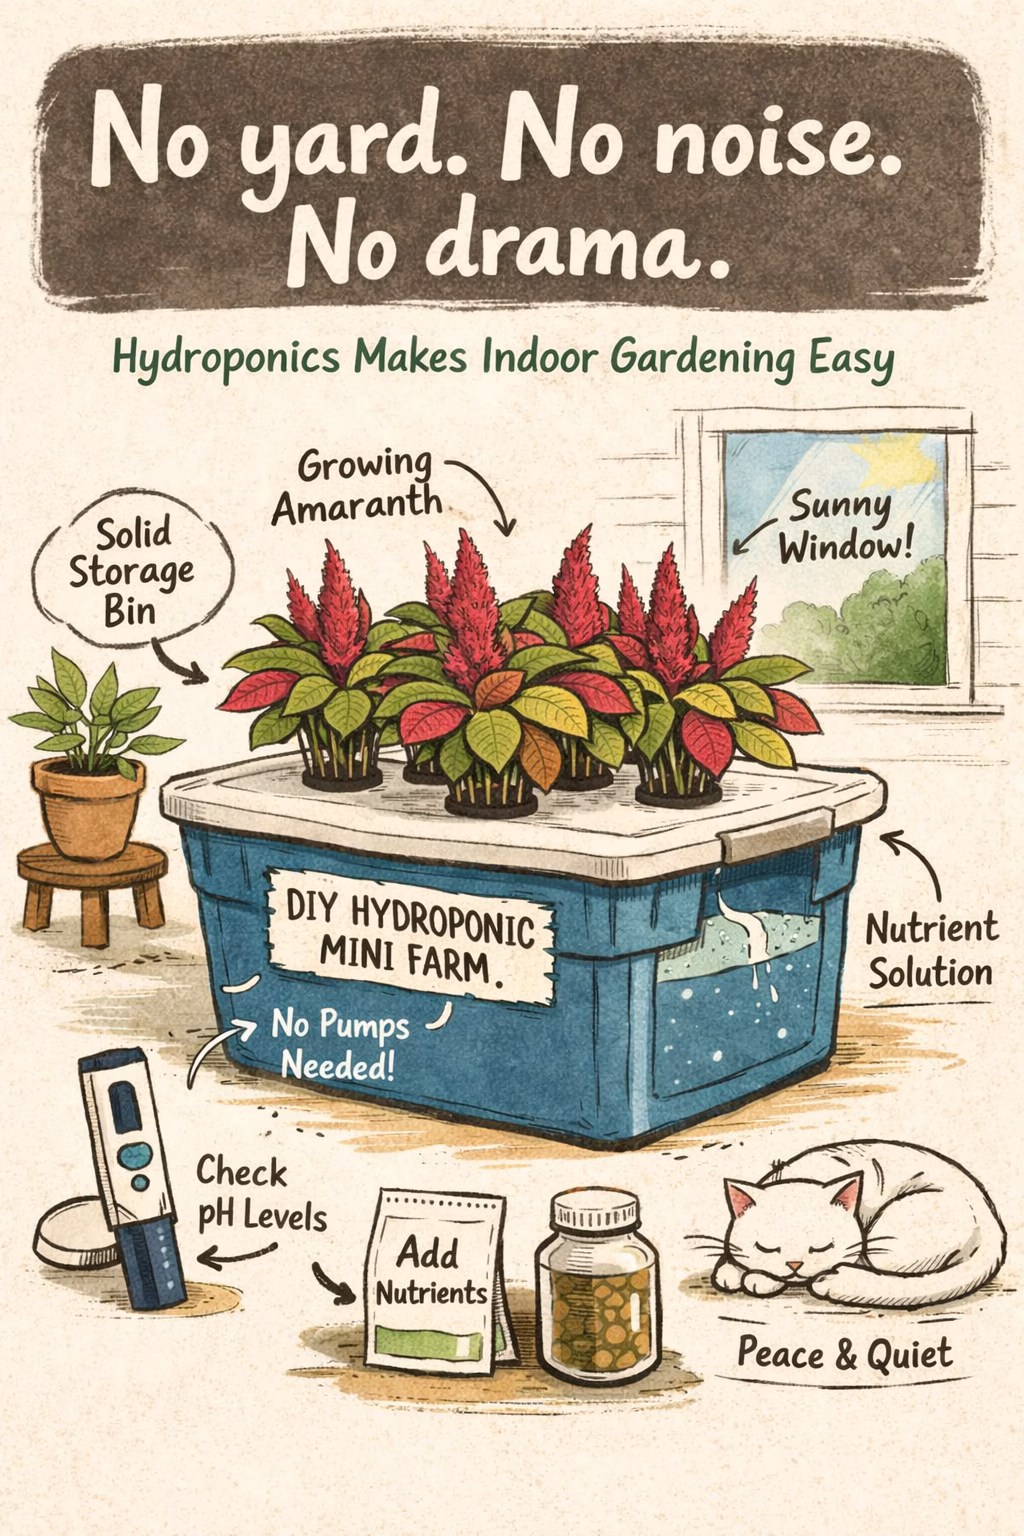
That’s exactly what pump-free apartment hydroponics is good for.
A pump-free setup removes the parts that tend to create drama (the noise, the moving pieces, the constant adjusting), and replaces them with something calmer and more consistent. You trade “cool gadget” energy for a repeatable indoor routine that produces greens in a small space, without requiring daily attention.
If you want the bigger apartment overview first (small footprint, low friction, beginner-friendly), start here.
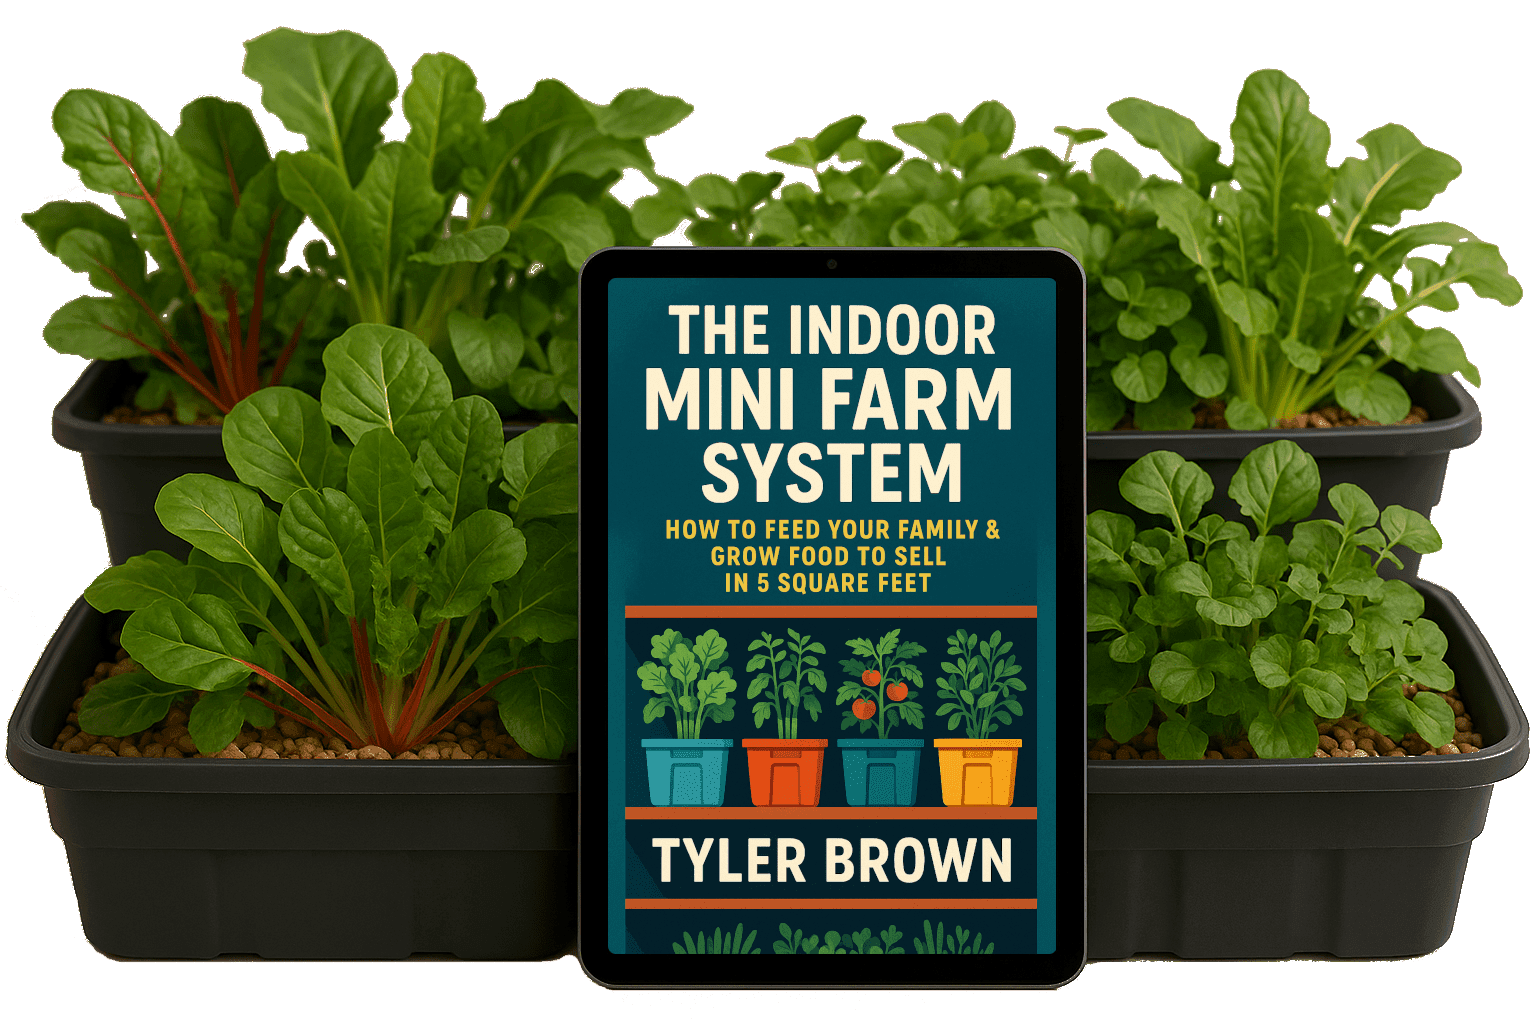
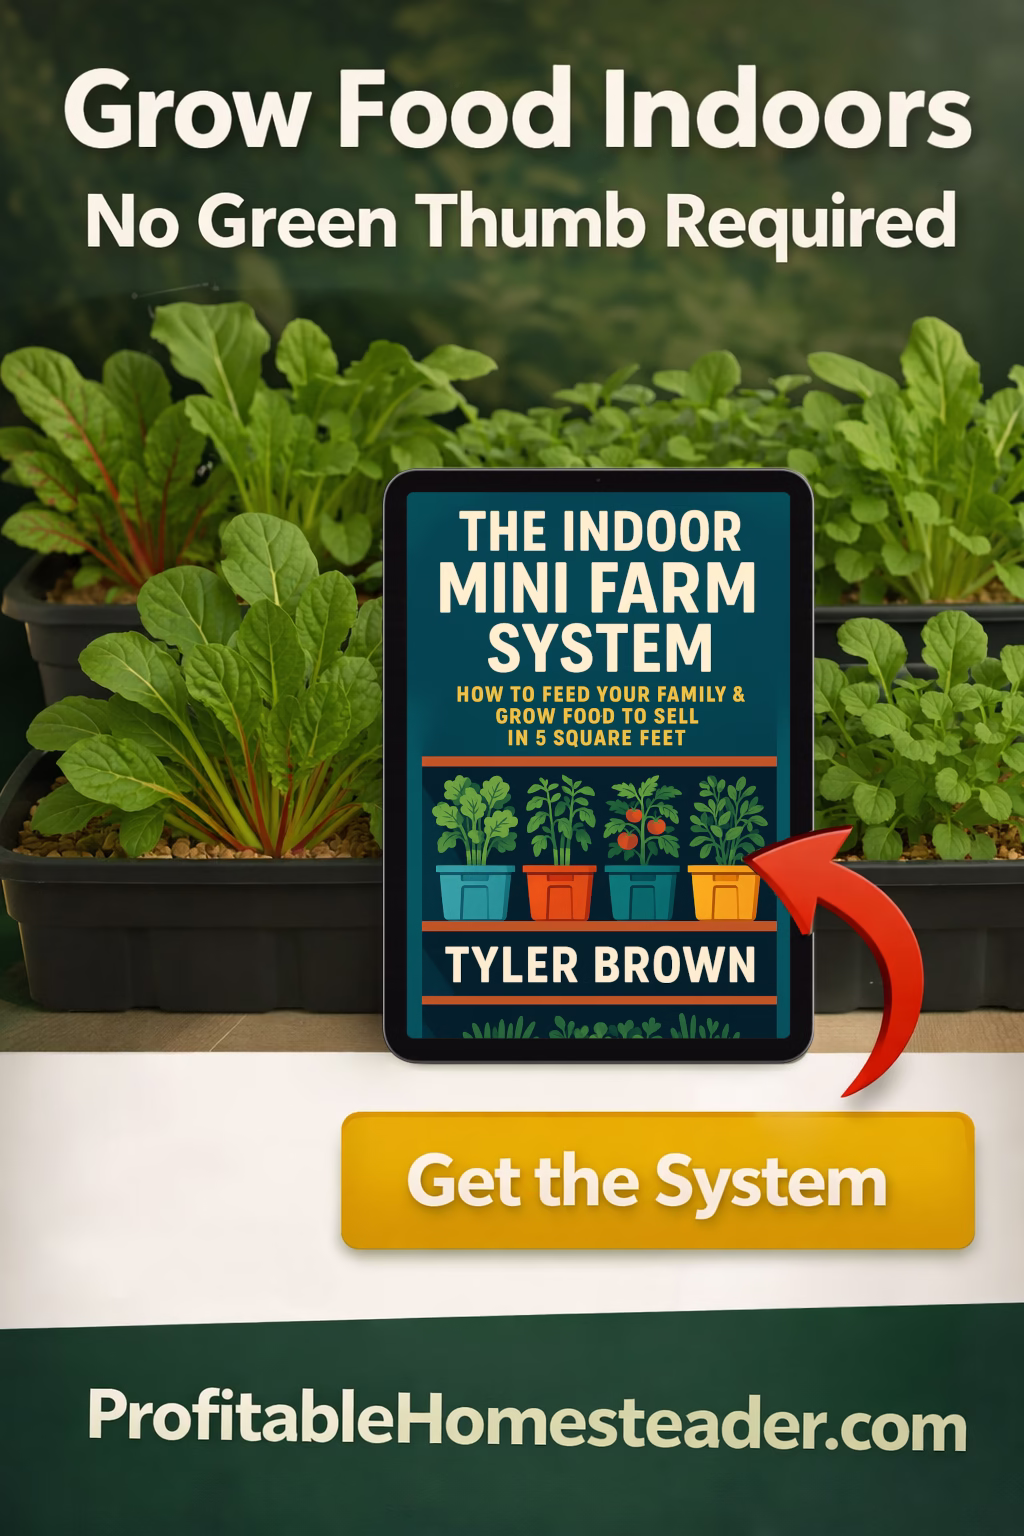
And if you want the full step-by-step mini farm system with the shopping list and a perpetual calendar so you don’t have to think about what to do next, you can grab it here.
Beginner-Friendly Hydroponics
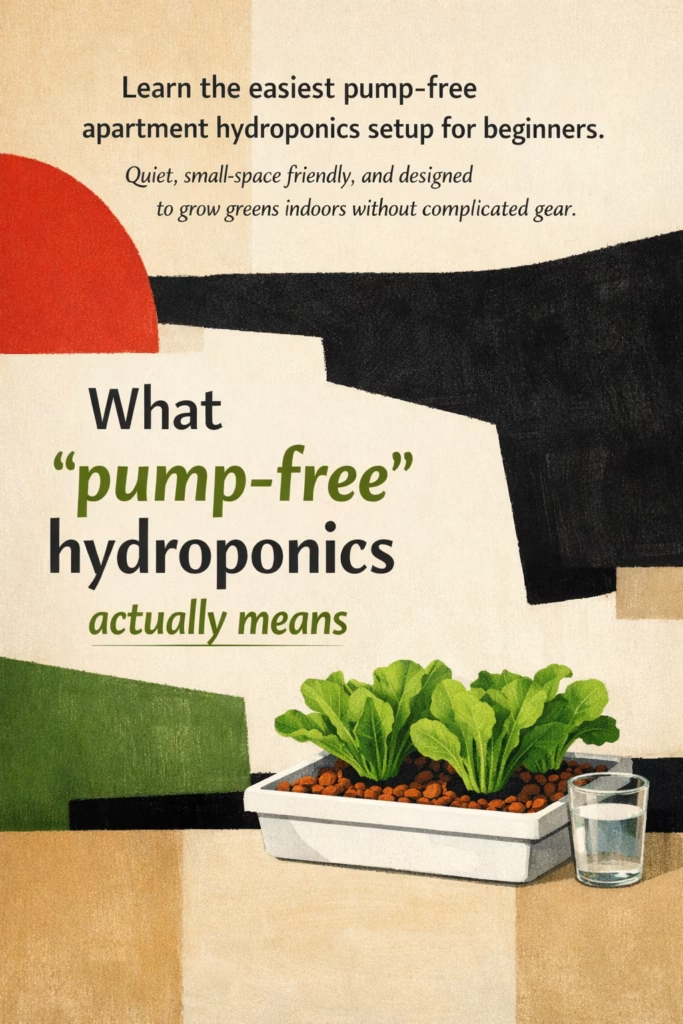
What “pump-free hydroponics” actually means
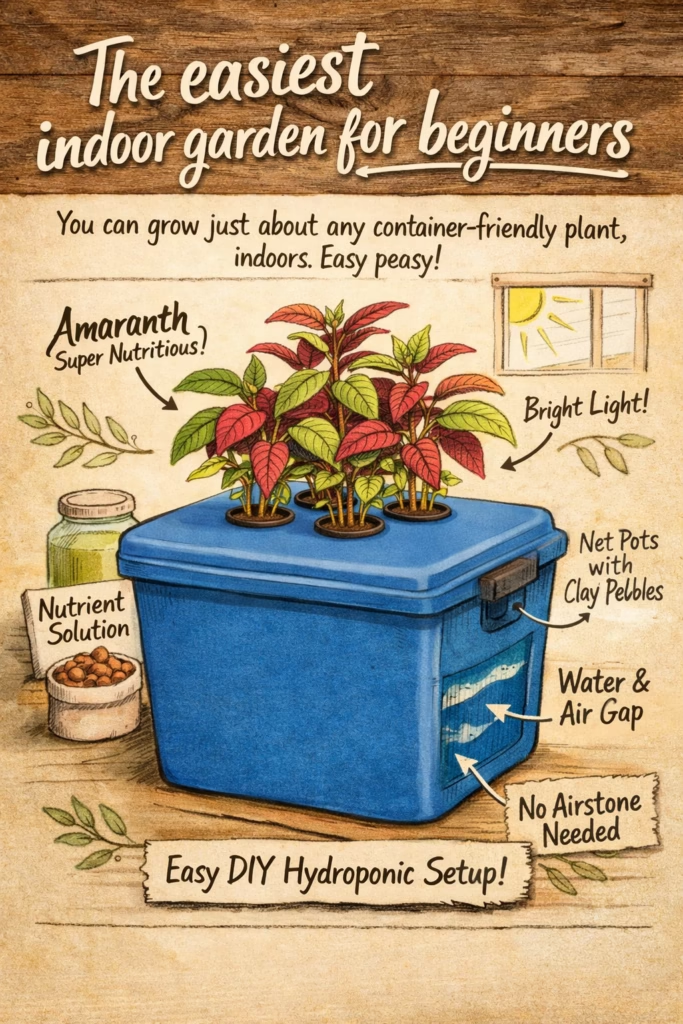
When people hear “hydroponics,” they often picture a loud pump, tubes everywhere, a bright grow light, and a complicated system that looks like it belongs in a lab. That exists, but it’s not the only way to grow food indoors, and it’s definitely not the easiest starting point for most apartment beginners.
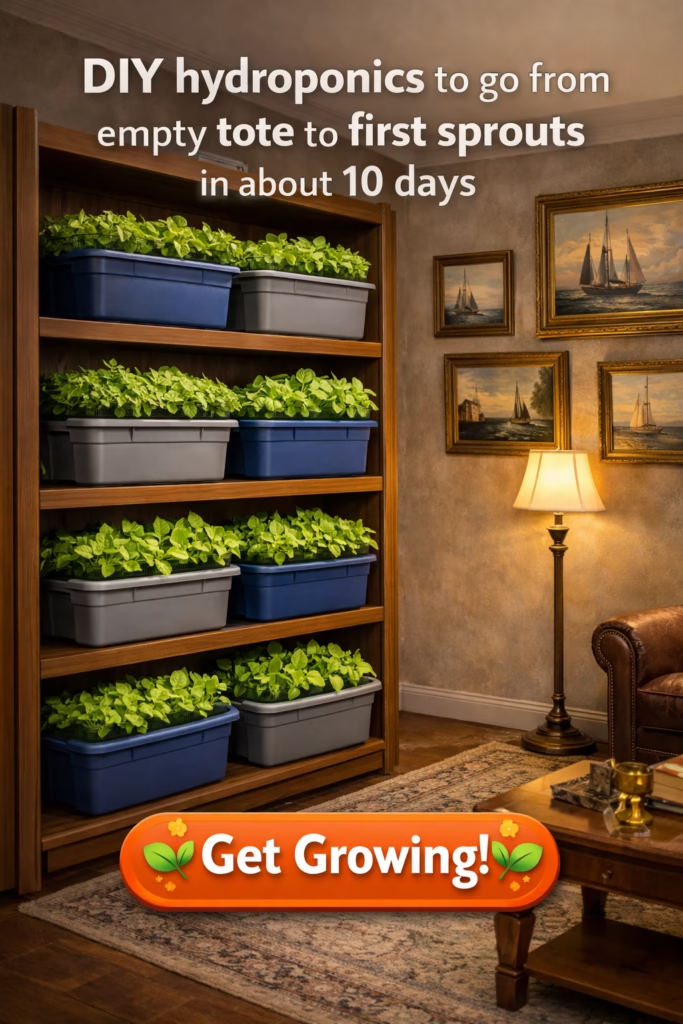
Pump-free hydroponics is exactly what it sounds like: it’s an indoor growing approach that doesn’t rely on a circulating pump. Instead of pushing water around continuously, you use a simple container setup where plants have access to water and nutrients in a stable way, and the system doesn’t require machinery to function.
It’s popular with beginners because it removes most of the failure points that cause people to quit. It’s quieter, cheaper, and easier to maintain, which matters a lot when your “garden space” is also your living space. You don’t need to commit to the kind of upkeep that turns indoor growing into a full-time personality.
Some people call this style “Kratky,” and you may see that term online. You don’t need to memorize the word to make the system work. The important part is the design philosophy: fewer moving pieces, fewer things to break, fewer decisions to make, and fewer reasons for your setup to fall apart.
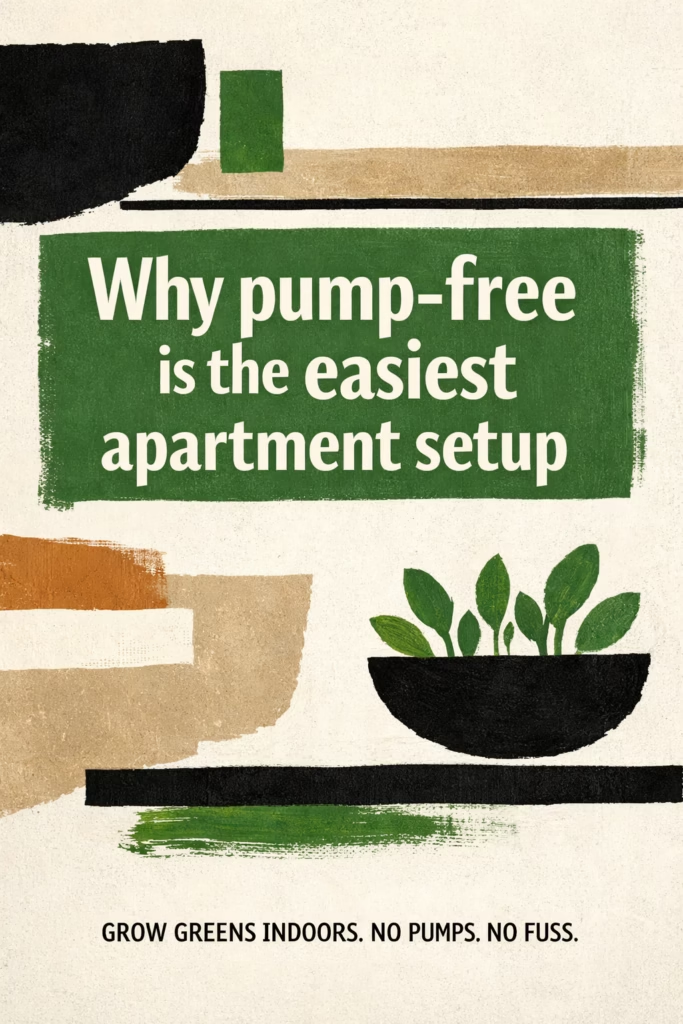
Why pump-free is the easiest apartment setup
Apartment hydroponics fails for boring reasons. The system is too big, too messy, too loud, too bright, too complicated, or too demanding. It’s rarely a “skill issue.” It’s almost always a friction issue.
Pump-free systems are easiest in apartments because they reduce friction in every direction.
They’re quieter because there’s no pump humming in the background. They’re simpler because there are fewer components to assemble, fewer moving parts to break, and fewer “you must do this exactly right” steps. They’re also much less dramatic if you miss a day, which is important because apartment growers tend to be busy people who are trying to add fresh greens to life, not reorganize life around fresh greens.
The other reason pump-free setups work well in apartments is that they stay contained. That might sound like a small thing, but it isn’t. A contained setup is the difference between something that feels normal and something that feels like a constant mess you have to clean around. If your indoor garden spreads out, requires tools every time you touch it, or creates frequent drips and splashes, you’re eventually going to resent it. That resentment is what kills most setups.
A good apartment system feels like one tidy unit. You check it, refill it, harvest, and move on.
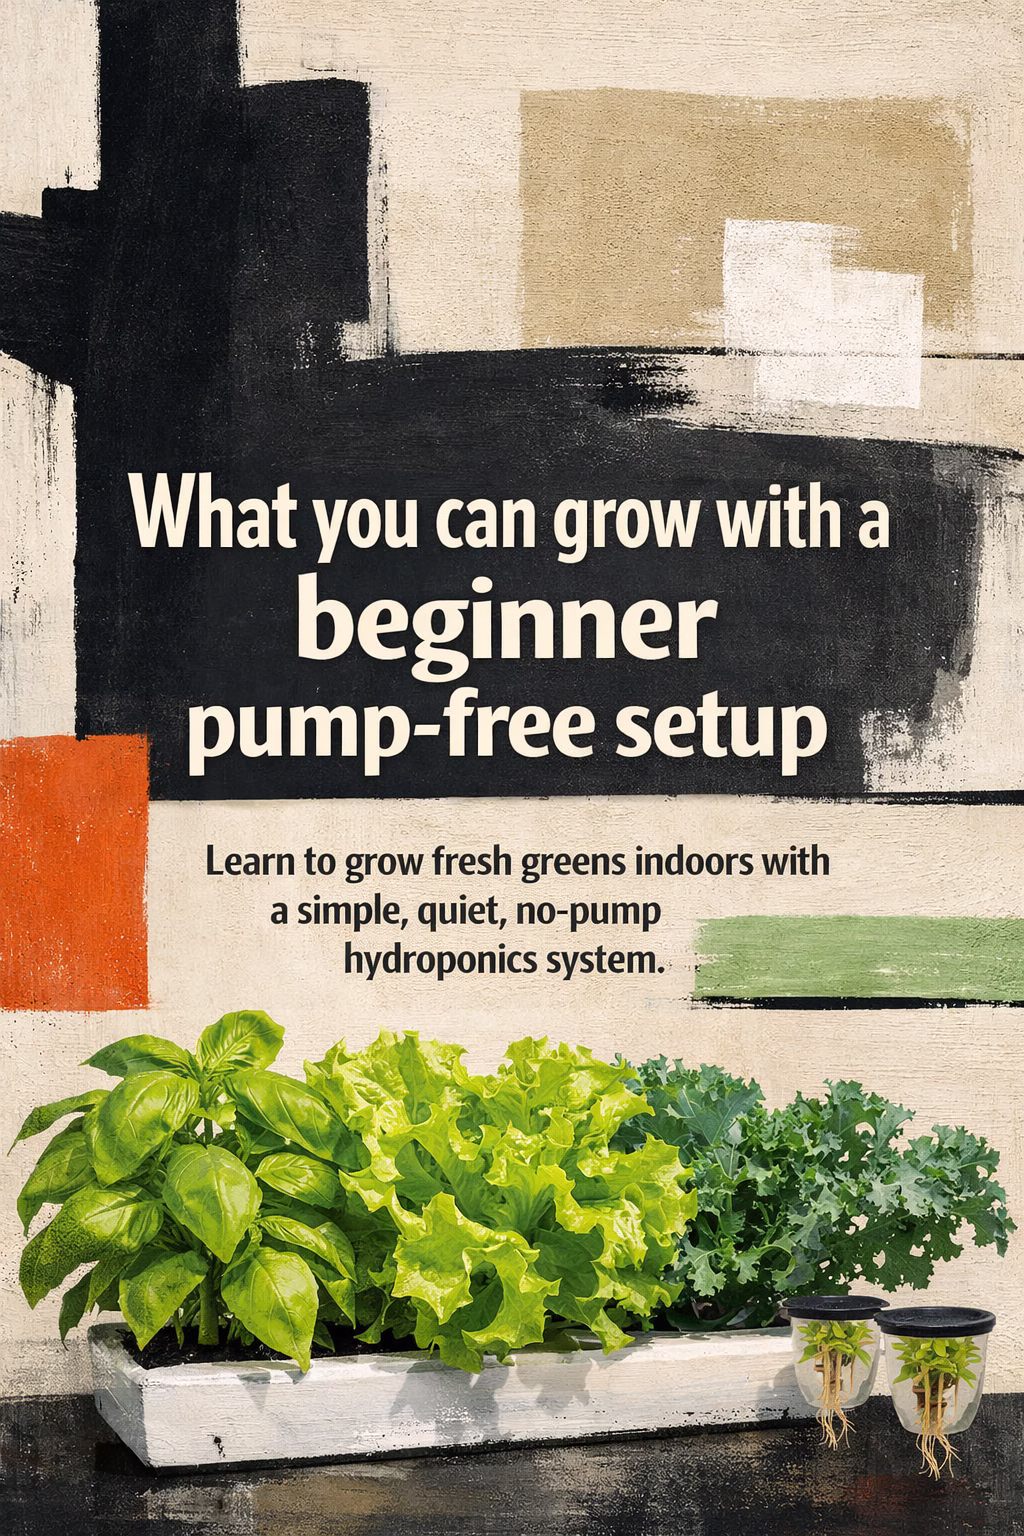
What you can grow with a beginner pump-free setup
The smartest way to start pump-free hydroponics in an apartment is to grow plants that reward you quickly. Fast wins build momentum, and momentum is how indoor growing turns into a habit instead of a short burst of motivation followed by a dusty abandoned setup.
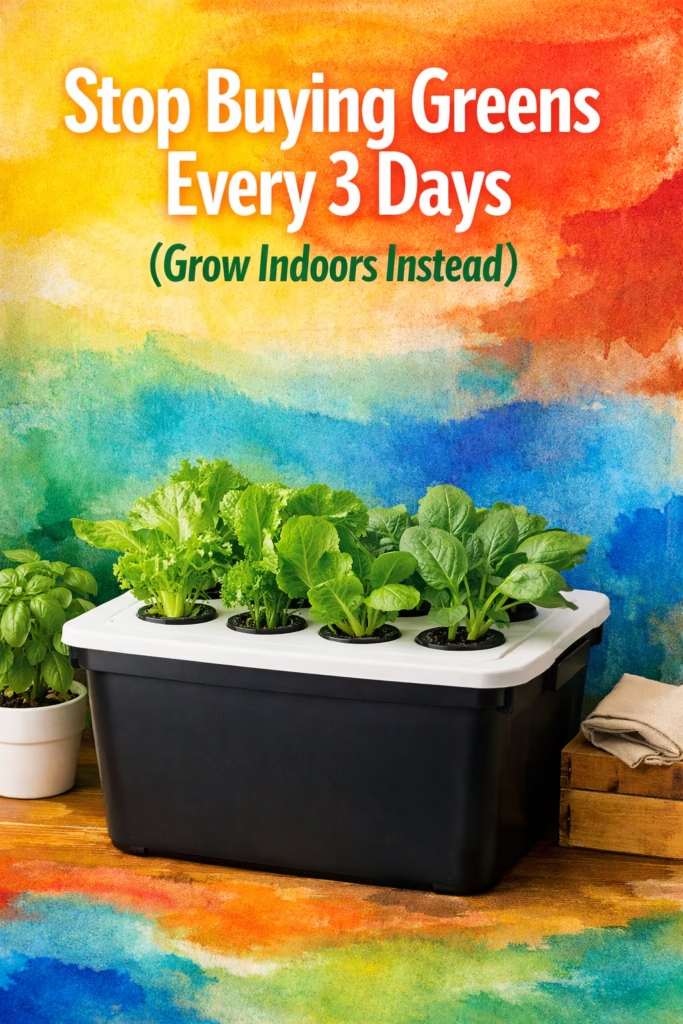
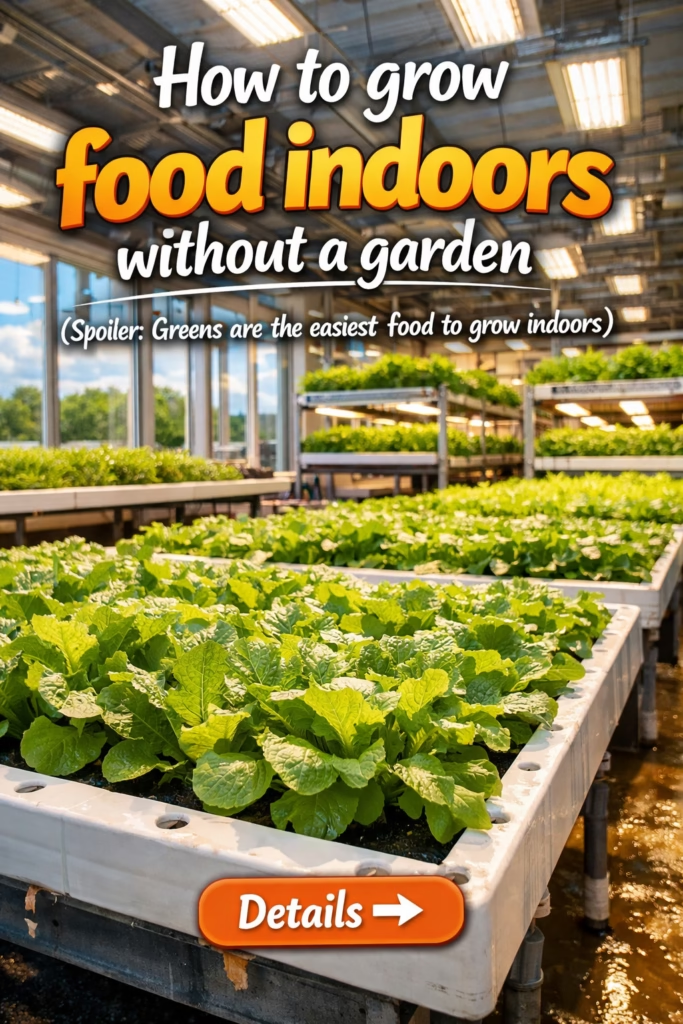
For beginners, that usually means greens.
Greens are forgiving, they grow fast, and they don’t require huge containers or complicated supports. They’re also the category that tends to be most expensive at the grocery store for how little you actually get, which makes them feel like a satisfying “win” to grow at home.
If you want the broad list of what to grow indoors (with the easiest beginner options), I’m building that as a supporting guide here.
For this post, here’s the simple truth: you want to start with plants that don’t require you to become an expert.
The best beginner choices are the ones you can harvest gradually, because gradual harvesting keeps the system productive while keeping your expectations realistic. You’re not trying to grow a single perfect giant plant. You’re trying to create a steady supply of fresh greens that you can grab as needed.
You can absolutely grow other things later. But if your goal is “the easiest apartment hydroponics setup,” greens are where you start.
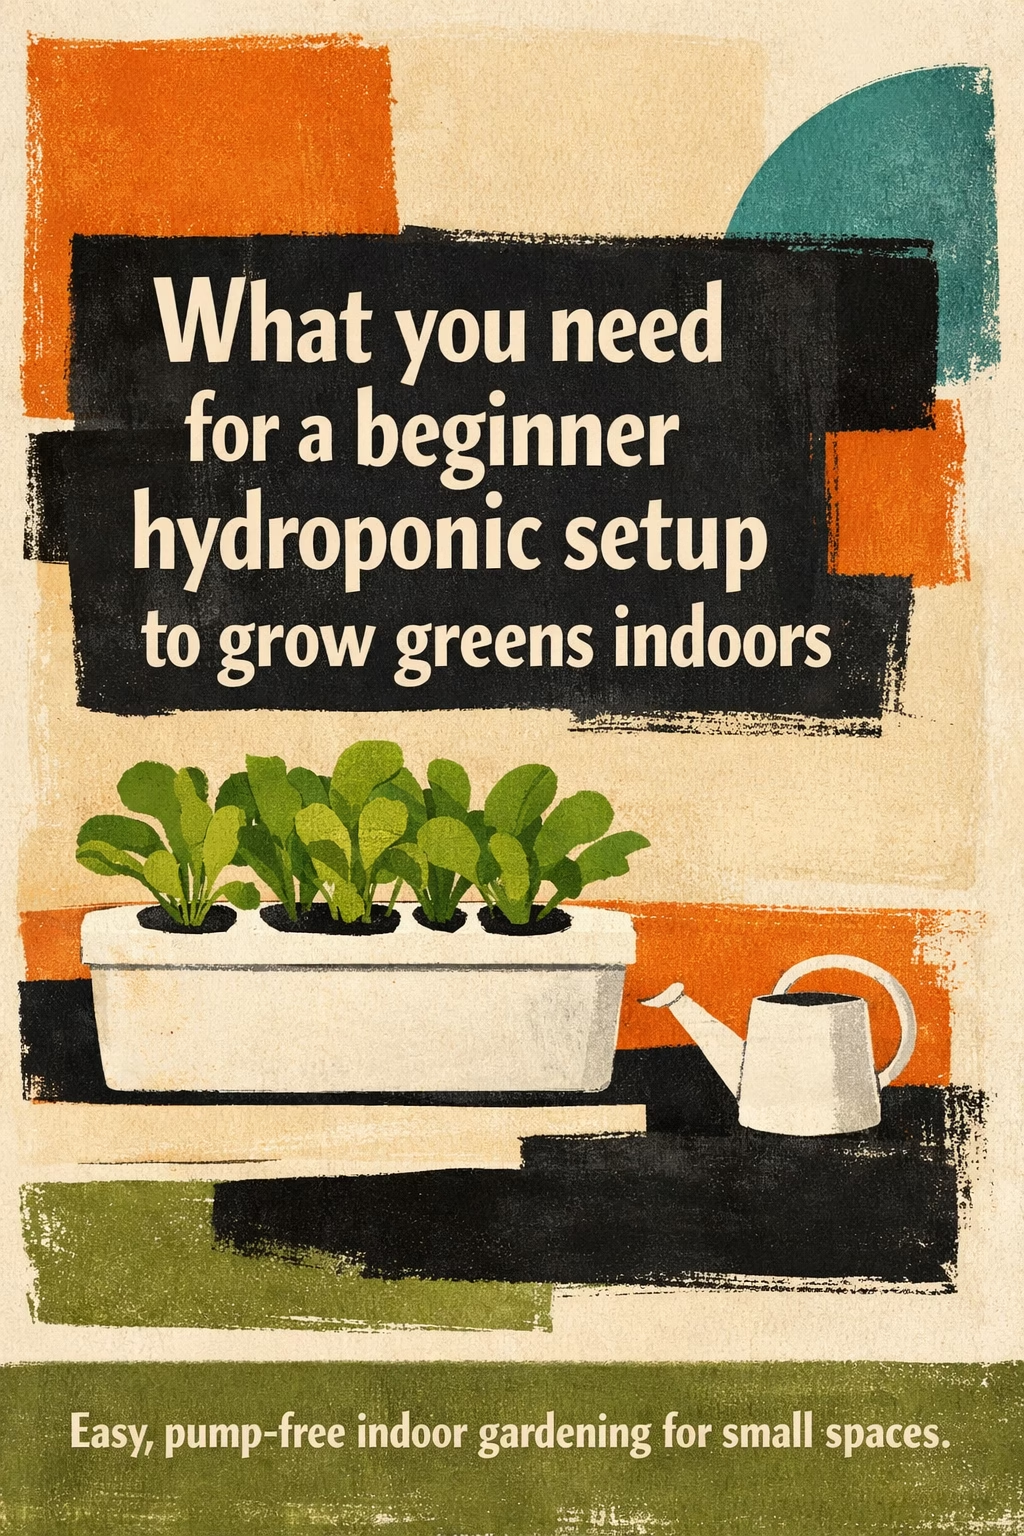
What you need (simple shopping list)
Let’s not do the thing where you end up with a cart full of expensive gear you don’t need.
A pump-free beginner setup only needs a few categories of supplies. You can run it cheaply, you can run it quietly, and you can run it without your apartment looking like a project zone.
Here’s what you need in plain language.
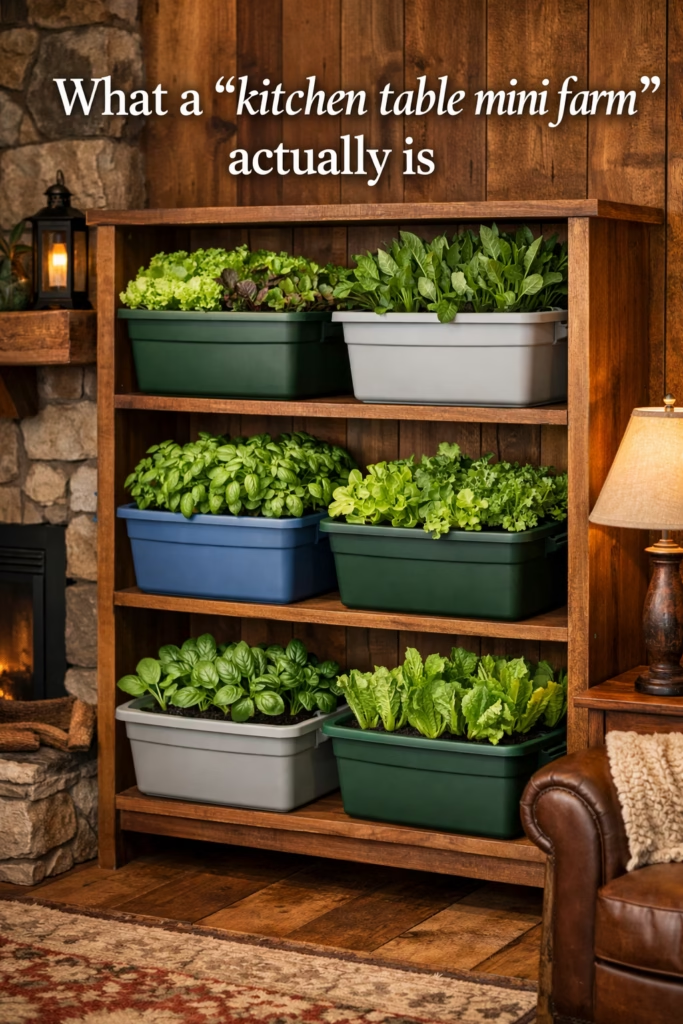
1) A stable container setup
You want something that won’t leak, won’t wobble, and won’t make you nervous about where it sits. In an apartment, stability matters because everything is close to furniture, floors, and surfaces you don’t want to damage.
2) A way to hold plants in place
Plants need support so they aren’t flopping around. This is where a lot of systems get overcomplicated with accessories. You just need a simple, repeatable way to keep plants secure.
3) A simple way to start seeds
The goal here is consistency. You want a method you can repeat without guessing. Starting seeds doesn’t have to be an emotional journey. It should be boring and predictable.
4) Light (usually)
In most apartments, natural light alone isn’t enough for strong growth year-round. You do not need to turn your home into a bright warehouse. You just need enough light to keep growth steady, especially if you’re growing in a corner or a room without full sun.
5) The right seeds
Early wins matter. Choose plants that are easy and forgiving so you build confidence before you build complexity.
6) A simple routine
This is the real “secret ingredient,” and it’s why most people fail. If you don’t have a routine you can stick with, your supplies won’t save you.
If you want my exact beginner shopping list (so you don’t overbuy and regret it), it’s included inside the Indoor Mini Farm System.
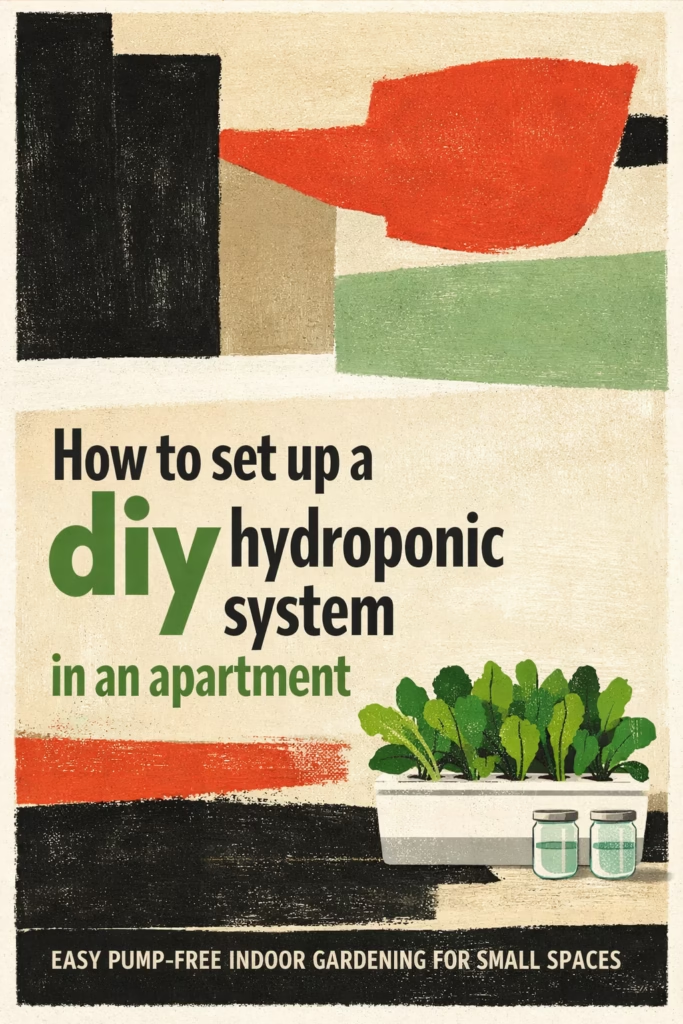
How to set it up in an apartment
The easiest pump-free apartment setup is the one that stays contained, easy to refill, and easy to harvest from. The goal is not to build the most advanced system. The goal is to build a system that becomes normal.
Step 1: Pick a location you won’t constantly disturb
If your indoor garden lives in a spot that you constantly use for other things, it will eventually feel annoying. You’ll keep moving it, bumping it, shifting it, and resenting it. Then you’ll stop.
Pick a spot that can stay stable. A shelf is perfect. A corner is fine. A rolling cart can work. The only rule is that it should not be in your way.
Step 2: Keep it clean and contained from day one
If the system is messy, you’ll treat it like a project instead of a routine. The easiest apartment hydroponics setups are the ones that stay tidy without requiring constant attention.
Contained means the system feels like one unit. You can wipe around it easily. You can refill without spilling. You can harvest without dragging supplies across the kitchen.
Step 3: Start small enough to succeed quickly
A lot of beginners start too big because they get excited. That excitement is normal, but it creates a setup that demands more time than you want to give.
Start with a small batch of plants. Get your routine stable. Then scale up.
Step 4: Keep your first run simple on purpose
Your first run is about building confidence and getting consistent growth. It is not the moment to test fifteen variables and troubleshoot twelve different issues.
A simple first run is how you win quickly.
If you want the apartment overview page, start here.
And if you want the full step-by-step build, it’s here.
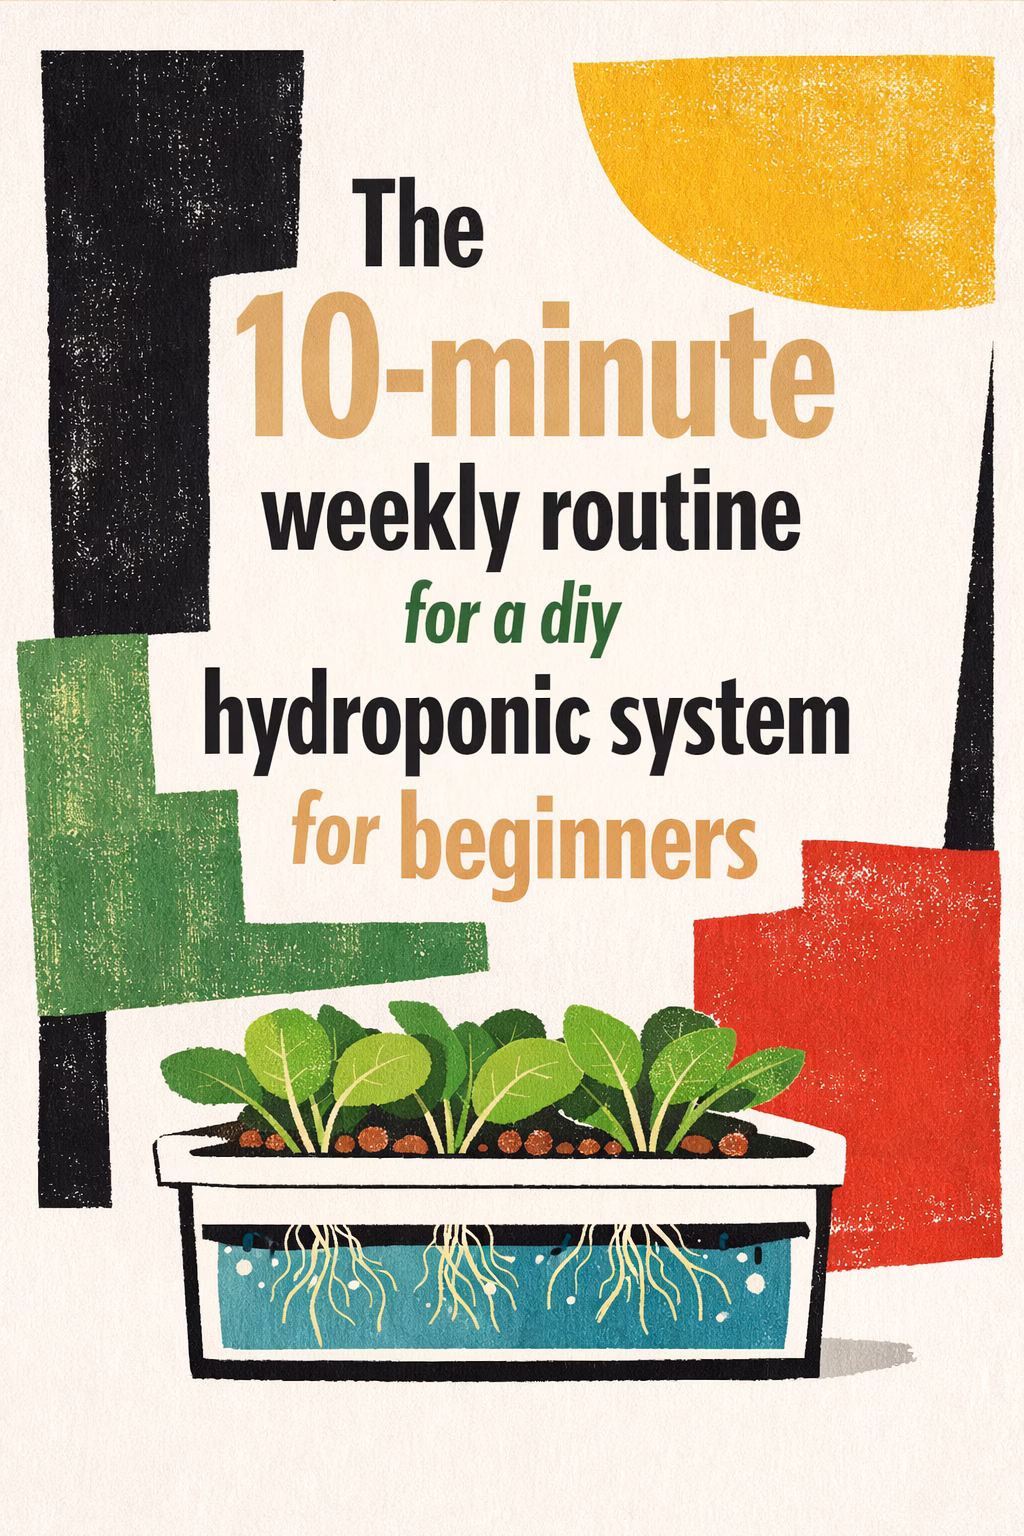
The 10-minute weekly routine
This is the part that makes apartment hydroponics actually work long-term.
If your routine feels big, you will quit. If it feels small, you will keep going.
First: a quick look
You’re not inspecting like a scientist. You’re just checking whether things look normal. Upright growth, decent color, no obvious weirdness.
Second: refill
Pump-free systems usually need occasional refills. If your setup is designed well, refilling is easy and contained, and it doesn’t create a whole production.
Third: harvest
Harvesting is what makes the setup feel worth it. You get to turn “a thing you set up” into “food you actually eat.”
Fourth: reset
A reset should not mean disassembling your whole system. It should mean a simple cleanup and getting the system ready for the next week. When a system is designed for apartments, “reset” stays small.
This is why I include a perpetual calendar inside the Indoor Mini Farm System. Most people don’t need more information. They need a simple next step, so they keep the routine going without thinking about it.
Common mistakes beginners make in diy hydroponic systems (and how to avoid them)
Mistake #1: Starting too big
The fastest way to kill an apartment hydroponics setup is to start too big. Start smaller than your ambition. You can scale after you win.
Mistake #2: Trying to “perfect” it immediately
Beginners get stuck because they want to optimize everything at once. Momentum comes from running a simple system successfully, then making improvements based on real experience.
Mistake #3: Choosing plants that are too fussy
Fussy plants create fussy routines. Fussy routines create resentment. Resentment creates quitting. Start with easy wins. Build confidence. Then expand.
Mistake #4: Letting the setup become clutter
Apartment hydroponics has to be tidy. If supplies end up scattered everywhere, the system will eventually feel like it’s taking over your home. Contain the setup from day one.
Mistake #5: Relying on motivation
Motivation is not a strategy. A routine you can do even when you’re tired is the real strategy.
Troubleshooting: yellow leaves, slow growth, algae
Most beginner problems are normal, fixable, and not a sign that you “can’t do this.”
If growth is slow
Apartments vary wildly in light. Even a window that feels “bright” can be unreliable depending on season and angle. A simple light setup often makes growth much more predictable.
It also matters what you’re trying to grow. Some plants reward you quickly. Some take longer. If you want fast wins, choose fast plants.
If leaves look pale or yellow
Pale leaves usually mean the plant isn’t getting what it needs consistently. That can happen if your routine is too irregular. The fix is to simplify, stabilize, and make the routine easier to repeat.
If you see algae or things look “slimy”
Anything slimy is your signal to clean and reset. A clean setup stays clean. In an apartment, you want the system to feel hygienic and contained.
If you’re getting frustrated
If you’re getting frustrated, your system is too complex for the season of life you’re in. Simplify the setup. Reduce moving parts. Reduce variables. Go back to easy wins.
How to scale it without making it complicated
Once your pump-free apartment hydroponics setup is running consistently, you may want more output. Scaling works when you scale the routine, not just the number of plants.
You want to add capacity in a way that doesn’t create more decisions, more cleanup, and more steps. The Indoor Mini Farm System is designed for exactly this: start simple, then expand without turning your apartment into a chaotic grow room.
FAQ: pump-free hydroponics for beginners
Is pump-free hydroponics good for beginners?
Yes. Pump-free setups tend to have fewer failure points, fewer moving parts, and fewer reasons to quit.
Do pump-free systems work in small spaces?
Yes. They’re quiet, contained, and easier to keep clean, which matters a lot in apartments.
Do I need a lot of equipment?
No. Simple supplies plus a simple routine can produce consistent greens indoors.
How much time does apartment hydroponics take?
If your system is designed well, the routine stays small. You want “minutes a week,” not “a daily responsibility.”
What should I grow first?
Start with easy greens that give quick wins. Quick wins create momentum.
Next steps
If you want the easiest apartment hydroponics setup, the biggest focus is not “perfect technique.” The biggest focus is designing a system you’ll actually keep running. That means keeping it quiet, contained, stable, and simple, and building a routine that still works when life is busy.
Apartment overview page
Full step-by-step Indoor Mini Farm System