
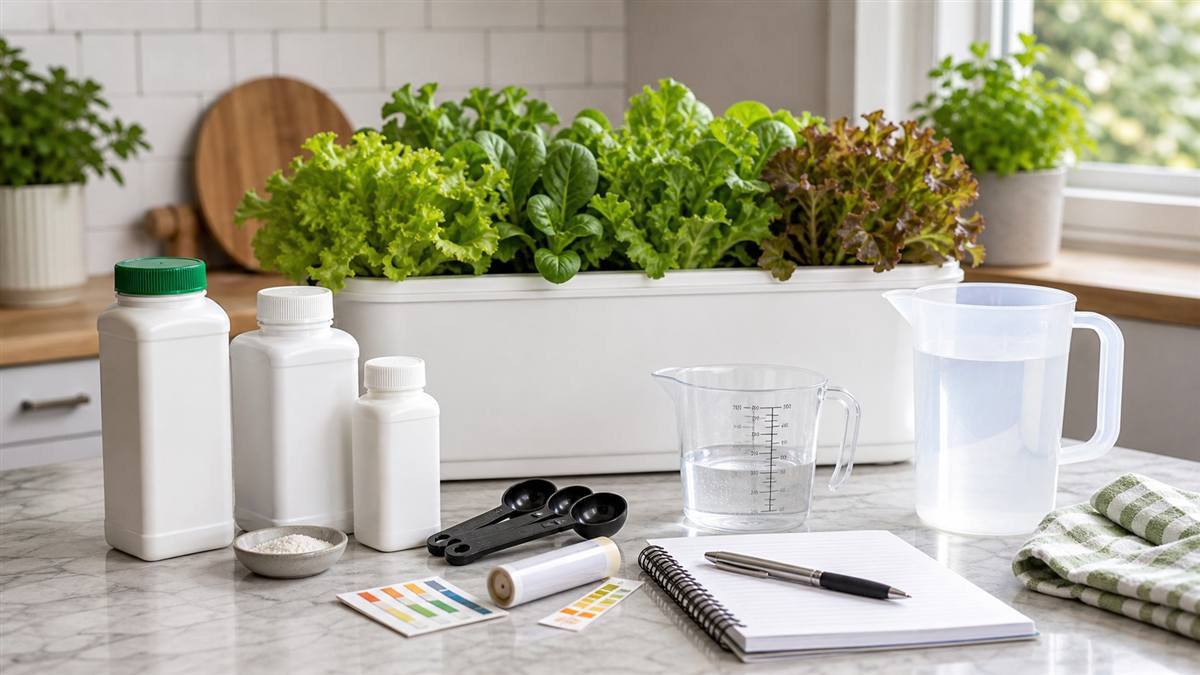
Mixing hydroponic nutrients sounds more complicated than it is. Once you understand what you’re doing and why, the process takes about five minutes and becomes second nature by your second or third grow cycle.
This guide is focused specifically on the mixing process — step by step, with real numbers, common mistakes called out clearly, and enough background to understand why each step matters. If you want a broader overview of which nutrient products exist and what plants need chemically, the hydroponic nutrient solution guide covers that. This one is about execution.
Table of Contents
- What You’ll Need Before You Start
- The Five-Step Mixing Process
- pH Explained: Why It Matters More Than the Nutrients
- Nutrient Ratios for Common Crops
- Troubleshooting a Mixed Solution
- How Often to Mix a Fresh Batch
- The Four Mixing Mistakes Beginners Make
- Frequently Asked Questions
What You’ll Need Before You Start
You don’t need much. Here’s the complete list for mixing a basic hydroponic nutrient solution for leafy greens and herbs:
- Your nutrient formula — a hydroponic-specific product like General Hydroponics MaxiGro, Flora Series, or MasterBlend. Not garden fertilizer.
- Clean water — filtered is ideal. Tap water works but let it sit 24 hours uncovered to off-gas chlorine, or use a small amount of plain dechlorinator.
- pH test kit or digital pH meter — drops work fine for beginners. A digital meter ($15–25) is faster and easier once you’re running multiple totes.
- pH Up and pH Down solutions — small bottles. These last a long time — you only use drops at a time.
- A measuring syringe or tablespoon — for accurate nutrient dosing.
- A stir stick or spoon — to fully dissolve dry nutrients or mix liquid ones in.
- A bucket or pitcher — to pre-mix before pouring into your totes, or mix directly in the tote.
That’s the full kit. Total cost if you’re buying everything new: under $40, and most of it lasts for many grow cycles.
The Five-Step Mixing Process
These steps apply regardless of which nutrient brand you’re using. The order matters — especially steps 2 and 4.
Step 1: Start with water, not nutrients
Always add nutrients to water, never water to concentrated nutrients. Fill your reservoir or mixing container with the volume of water you need. For a standard storage tote Kratky setup, that’s typically 3–5 gallons depending on tote size.
Use room-temperature water. Cold water slows nutrient absorption; very hot water can affect pH stability.
Step 2: Add nutrients one part at a time
For single-part dry formulas (like MaxiGro or MasterBlend), dissolve one measured dose in a small amount of warm water first, then add that to your main reservoir. This prevents clumping and ensures even mixing.
For multi-part liquid formulas (like the GH Flora Series), add each part separately and stir between additions. Never mix the concentrated parts together before adding to water — some combinations react and form insoluble compounds the plant can’t absorb.
Standard starting rates for leafy greens and herbs:
| Product | Rate for Leafy Greens | Notes |
|---|---|---|
| GH MaxiGro (dry) | 1 tsp per gallon | Dissolve in warm water first |
| GH Flora Series (3-part) | Seedling chart on label | Add FloraMicro first, then Gro, then Bloom |
| MasterBlend 4-18-38 | 2.4g + 2.4g Ca Nitrate + 1.2g Epsom salt per gallon | Add each part separately, dissolve fully before next |
When in doubt, use the lower end of the recommended range. Overfeeding causes nutrient burn. Underfeeding causes slow growth. Of the two, slow growth is easier to fix.
Step 3: Stir thoroughly
Give the solution a solid 30–60 second stir. For dry nutrients, keep stirring until the water is completely clear with no visible particles. Cloudy or sediment-filled solution means nutrients haven’t fully dissolved and won’t be fully available to your plants.
Step 4: Test and adjust pH after adding nutrients
This is the step most beginners miss. Nutrients change the pH of your water when they dissolve — often significantly. Testing before adding nutrients tells you nothing useful. You must test after.
Target range for most hydroponic crops: 5.5 to 6.5. Sweet spot for leafy greens and herbs: 5.8 to 6.2.
If pH is too high (above 6.5), add a few drops of pH Down. Stir, wait 30 seconds, retest. Repeat until you’re in range.
If pH is too low (below 5.5), add a few drops of pH Up. Same process.
Make small adjustments. A few drops moves pH more than you’d expect. It’s easy to overshoot and have to correct in the other direction.
Step 5: Fill your system
Your solution is ready. Pour it into your totes or reservoir.
For a Kratky passive setup, fill the tote until the nutrient solution just touches the bottom of the net cup — or sits about 1 inch below it. Roots need to grow down to reach the water; if the water is too high, the plant sits in solution and may have oxygen issues.
pH Explained: Why It Matters More Than the Nutrients
You can have a perfectly mixed nutrient solution with everything a plant needs — and if the pH is wrong, the plant still can’t absorb most of it. This is called nutrient lockout, and it’s the most common cause of yellowing, stunted growth, and tip burn in otherwise healthy-looking setups.
Each nutrient is only available to plant roots within a specific pH window. Outside that window, the nutrient is chemically present but physically unavailable — it’s locked in the water in a form roots can’t absorb. The 5.8–6.2 range sits inside the optimal window for virtually every nutrient leafy greens need, which is why it’s the universal target.
Check pH every 3–4 days during the first two weeks of a grow, when plants are actively drinking and the solution chemistry shifts most rapidly. After that, pH tends to stabilize and needs less frequent monitoring.
Nutrient Ratios for Common Crops
Different crops prefer different nutrient concentrations, measured in EC (electrical conductivity). Think of EC as a measure of how rich the solution is — higher EC means more dissolved nutrients.
| Crop | Target EC | Approximate PPM | Notes |
|---|---|---|---|
| Seedlings (all types) | 0.5–1.0 | 350–700 | Start low. Seedlings are sensitive to overfeeding. |
| Lettuce, spinach, arugula | 0.8–1.6 | 560–1120 | Lower end in hot weather; higher in cooler temps. |
| Basil, cilantro, mint | 1.0–1.6 | 700–1120 | Herbs can take slightly richer solution than lettuce. |
| Kale, chard, bok choy | 1.2–2.0 | 840–1400 | Hardier greens tolerate and benefit from richer solution. |
If you don’t have an EC meter yet, follow the “seedling” or “light feeding” rate on your nutrient packaging. This puts you safely in range without measuring directly. An EC/TDS meter runs $10–15 and is worth adding once you’re running more than two totes.
Troubleshooting a Mixed Solution
| Problem | Likely Cause | Fix |
|---|---|---|
| Solution is cloudy after mixing | Nutrients not fully dissolved | Stir longer; pre-dissolve dry nutrients in warm water |
| pH won’t hold stable | Alkaline tap water buffering the solution | Let tap water sit 24h before use; consider filtered water |
| pH keeps dropping over time | Plants drinking water faster than nutrients; algae | Keep totes opaque; do a full reservoir change |
| pH keeps rising over time | Normal plant metabolic activity | Check and adjust every 3–4 days; top off with nutrient solution |
| Yellow leaves after mixing correctly | pH lockout — check and re-adjust pH first before anything else | Lower pH to 5.8–6.0 and give the plant 3–4 days to recover |
How Often to Mix a Fresh Batch
For a passive Kratky system, you mix once at setup, then top off with fresh nutrient solution as the level drops. You don’t need to do a full change during a typical 30–50 day lettuce grow.
Between crops — when the plant is harvested and you’re starting a new one — empty the tote, rinse it with clean water, and mix a fresh batch. Starting fresh prevents salt buildup and gives your new seedling the cleanest possible start.
For active systems (pumps, recirculating reservoirs), a full reservoir change every 1–2 weeks keeps nutrient balance consistent and prevents salt accumulation.
The Four Mixing Mistakes Beginners Make
Testing pH before adding nutrients. The most common one. Your water pH before nutrients is irrelevant — nutrients change it. Always test after mixing.
Mixing concentrated nutrients together before adding to water. In multi-part formulas, the concentrated parts react when combined directly. Always add each part to the water separately, with stirring between.
Overfeeding. More isn’t better. Excessive nutrient concentration causes brown leaf tips, crispy edges, and slowed growth. If in doubt, mix at the lower end of the recommended range and observe.
Topping off with plain water only. When plants drink, they consume both water and nutrients — but not always at the same rate. If you always top off with plain water, your solution gradually becomes more concentrated (or sometimes less, depending on what the plant is absorbing). Occasionally mix a fresh light solution for top-offs rather than always using plain water.
Frequently Asked Questions
Can I use regular fertilizer instead of hydroponic nutrients?
No — not reliably. Garden fertilizers aren’t fully water-soluble and don’t contain the complete micronutrient profile plants need without soil biology to fill the gaps. Use a nutrient product specifically formulated for hydroponics.
How do I know if my nutrient mix is working?
Healthy plants tell you: deep green color, steady upright growth, new leaves emerging regularly, and no browning or yellowing on established leaves. If you’re seeing those things, your mix is working. If not, check pH first before adjusting anything else.
What’s the cheapest way to get started with nutrients?
GH MaxiGro (dry powder) is the most cost-effective option for beginners. A small tub costs $15–20 and makes dozens of gallons of solution. MasterBlend is even cheaper per gallon but requires three separate components and a bit more measuring. Either one will grow excellent greens and herbs.
How long does mixed nutrient solution stay good?
Properly mixed solution in a covered, opaque tote stays stable for several weeks in a Kratky system. Exposed to light, it can grow algae within a week. Always use opaque containers. If you’re storing mixed solution separately (in a jug or bucket), use it within a week and keep it out of direct light.
Get the mix right and pH managed and you’ve handled the chemistry side of hydroponics. Everything else — what to grow, how to set up the totes, how to turn a working system into a small income — is covered in the Indoor Mini Farm System.