The grocery store has a way of making you feel like you’re failing, doesn’t it? You walk in with good intentions, pick the “healthy” stuff, and somehow it still turns into a sad, slimy science project in the fridge drawer by Thursday. Meanwhile your kids are growing, your schedule is packed, and you’re doing that quiet math in your head: If I buy the better produce, can I still afford everything else?
If you’ve been searching phrases like “Kratky method hydroponics,” “passive hydroponics,” or “no pump hydroponic system” because you want a way to grow food indoors without adding another full-time job… you’re in the right place. I’m going to show you what Kratky is, why it works so well for apartments and busy families, how to set up a simple version without overcomplicating your life, what to grow first for quick wins, and how to avoid the common problems that make people give up.
And when you’re ready to stop “trying hydroponics” and start having a repeatable indoor food system you can actually stick with, I’ll show you the next step.
Choose Your First Indoor Crops
Not sure what to grow first? Get the free guide to the best hydroponic superfoods for an indoor garden.
This guide focuses on keeping Kratky manageable for a busy household. If you want the broader technical overview first, read the complete Kratky method beginner guide. For an apartment-specific setup, see the pump-free apartment hydroponics guide.
Quick Answer: What is the Kratky Method?
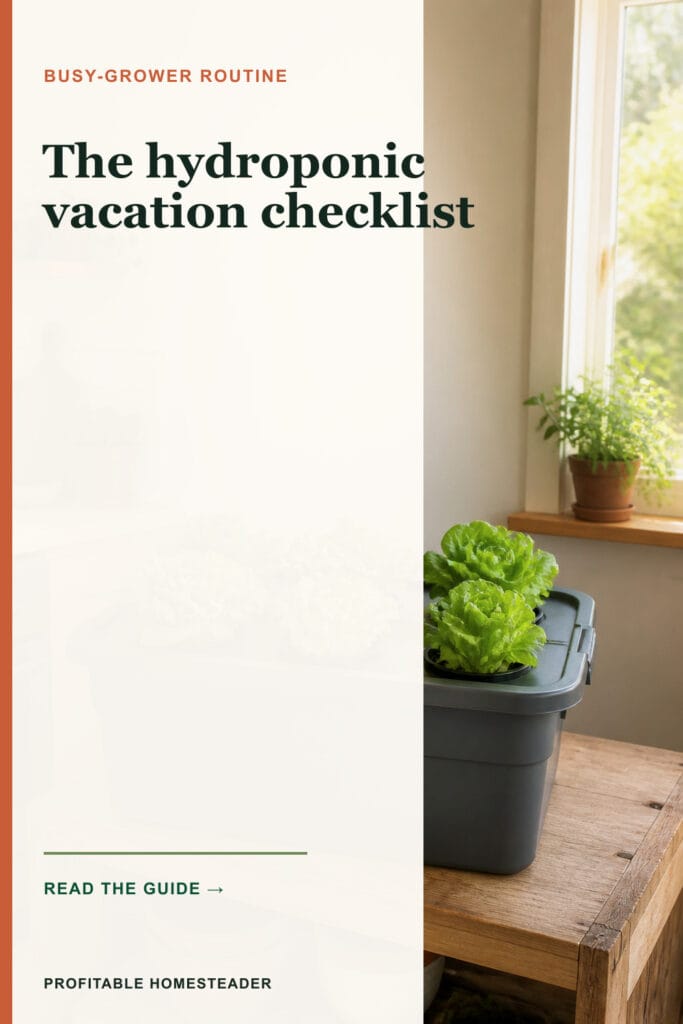
The Kratky method is a passive hydroponics technique where plants grow in a container of nutrient water without pumps or electricity. As the plant drinks, the water level drops and creates an air gap that provides oxygen to the roots. That’s why it’s often described as hydroponics without electricity or a no-pump hydroponic system.
What Is the Kratky Method Hydroponics?
Kratky method hydroponics is the “calm” version of indoor growing. Instead of circulating water with pumps and timers, the plant sits above a container of nutrient solution and drinks what it needs. Over time, the water level naturally lowers, and that space between the water and the lid becomes the plant’s oxygen source. Simple, quiet, and surprisingly forgiving when you keep the basics right.
This method is widely associated with Dr. Bernard Kratky, who developed and popularized it as a practical approach to growing plants in a non-circulating system. And the reason it’s become such a popular search topic is obvious the second you’re juggling kids, a job, and the reality that “fresh produce” shouldn’t be a luxury item: it gives you a real shot at growing greens indoors without needing technical gear or daily tinkering.
Here’s the version you need to remember: water + nutrients + oxygen + light. Kratky gives you those four things with fewer moving parts, which means fewer ways for life to interrupt your progress.
Why Passive Hydroponics Is Perfect for Apartments and Busy Moms
A lot of “beginner hydroponics” content online is secretly written for people with spare time, extra money, and a deep love of fiddling with equipment. If that’s not you, there’s no shame in it. You’re not trying to win a fair ribbon. You’re trying to put better food in front of your kids without burning yourself out.
Passive hydroponics is a great fit for apartments and busy households because it’s built around consistency, not constant maintenance. There’s no pump to break, no humming equipment on your counter, and no “if I miss one day everything dies” vibe. It’s quieter. It’s simpler. It’s more forgiving. And it works in small spaces because you can set it up on a shelf, a counter, a cart, or a corner that gets decent light.
It’s also a budget-friendly way to start indoor hydroponics for beginners because you can test the concept without buying a whole “fancy kit” that looks good in photos and then quietly becomes clutter. (Dad note: if a system requires twelve hoses, it’s not a beginner system. It’s a part-time job with water.)
Kratky Method Setup (Beginner-Friendly, No-Pump)
I’m going to give you a clean, practical setup path here, but I’m not going to drown you in measurements and lab-coat energy. Kratky succeeds when you get the fundamentals right and keep it simple. If you want the exact, repeatable blueprint that scales into a reliable indoor mini farm (the version built for busy families), that’s what the Indoor Mini Farm System is for.
What you need for a simple DIY Kratky setup
- A container with a lid (opaque is best to reduce algae and light exposure)
- A plant holder (many people use net cups or a simple holder that fits in the lid)
- A starter medium (something clean that supports a seedling)
- Hydroponic nutrients (this is the plant’s food)
- Water
- Light (sunny window can work; a basic grow light is often easier indoors)
- Seeds or seedlings
That’s it. No pump. No electricity. No complicated plumbing. This is why “kratky method hydroponics” gets searched so much: it’s one of the simplest ways to grow indoors.
Step 1: Choose the right container (and why “opaque” matters)
For a no-pump hydroponic system, stability is your friend. A larger container usually means you top off less often, which is exactly what busy families need. Opaque containers help prevent algae because algae thrives when light hits the nutrient solution. If your container lets light through, you can block it with a cover. Think of it as giving your water a little privacy.
Step 2: Keep the plant above water (roots down, leaves dry)
In Kratky, the plant sits in the lid and the roots grow down into the nutrient solution. You want the plant’s crown and leaves staying dry and above the lid line. If everything is soaked, you invite problems. A steady, healthy plant looks like this: leaves up top, roots doing the work below.
Step 3: Mix nutrients consistently (don’t overthink it)
You’ll use a hydroponic nutrient made for leafy greens. Follow the label directions, and keep it consistent. Most beginners don’t fail because they aren’t “technical enough.” They fail because they change ten things at once, or they “panic adjust” every time a leaf looks weird. Pick a reasonable mix, stick with it, and let the plant settle in.
Step 4: Light placement is the make-or-break indoors
If you’re growing indoors, light is usually the limiting factor. A bright window can work for some people, but many apartments have “pretty” light that isn’t strong enough to power real growth. If you want the easier path, a basic grow light is often the difference between “tiny sad leaves” and “we’re actually eating this.”
Step 5: Check water level and top off as needed
Kratky is passive, not magical. The plant drinks, the level drops, and that air gap helps oxygenate roots. You’ll still check water level periodically and top off when it gets low. The whole point is that this is manageable: it’s the kind of routine you can do while your coffee brews, not a whole Sunday project.
Want the version that’s designed to be repeatable (and scale into real family food)?
If you like the idea of Kratky but you don’t want to “figure it out the hard way,” the Indoor Mini Farm System was made for you. It’s built on pump-free simplicity, but organized so you can keep it going even when life gets busy. See the Indoor Mini Farm System blueprint.
What to Grow First in Kratky Hydroponics (Quick Wins)
If you start with the wrong plants, you’ll convince yourself the method doesn’t work. Start with quick wins: leafy greens and herbs. They grow faster, they’re more forgiving, and they give you that early success that makes you stick with it.
Great beginner-friendly options for kratky hydroponics:
- Lettuce (multiple varieties)
- Romaine
- Arugula
- Spinach (can be great when conditions are right)
- Basil
- Mint (contain it, mint has strong opinions)
- Cilantro (sometimes dramatic, sometimes amazing)
These are the plants that make you feel like, “Wait… I can actually do this.” And that feeling matters, because once you’re harvesting greens indoors, the whole idea of “feeding your kids better” stops being aspirational and starts being practical.
Common Kratky Problems (and How to Fix Them)
This is the part where I tell you something you deserve to hear: most “problems” in beginner hydroponics aren’t proof you’re bad at it. They’re just signals. Plants communicate. Your job is to notice the signal and adjust one thing at a time.
Yellow leaves
Often caused by weak nutrients, insufficient light, or stress from temperature swings. Indoors, light is the first thing I’d check, because it’s the silent culprit in apartment setups.
Slow growth
Nine times out of ten: not enough light, or inconsistent light. If you want steady harvests, steady light is your best friend.
Algae in the container
Usually light is hitting your nutrient water. Make the container opaque or block the light. Algae isn’t a moral failing. It’s just biology doing what biology does.
Brown roots
Sometimes roots stain from nutrients (normal), but if roots are slimy or smell bad, that’s a sign something’s off with conditions. Don’t panic. Adjust basics: keep light out of the water, keep the plant crown dry, and avoid over-warming the nutrient solution.
For a deeper diagnosis, use the complete hydroponic troubleshooting guide, including yellow leaves, algae, root problems, slow growth, and pH swings.
Get the Beginner Plant List
Not sure what to grow first? Get the free guide to three beginner-friendly hydroponic plants, then use this page as your setup checklist.
Next Steps: From a Single Kratky Container to a Real Indoor Mini Farm
A single Kratky container can absolutely get you started. But if your real goal is “I want dependable greens for my kids” (and maybe enough extra basil or lettuce to sell to neighbors who suddenly act like you’re a wizard), you’ll eventually want something more repeatable than one container on the counter.
That’s the moment people search things like “best DIY hydroponic system,” “no pump hydroponic system for apartments,” and “how to grow food indoors year round.” They’re not looking for a hobby anymore. They’re looking for a system.
If you want the scalable, family-friendly version built to be easy and consistent, see the Indoor Mini Farm System. If you want to compare system styles first, read the DIY hydroponic system guide for beginners.
FAQ: Kratky Method Hydroponics
Is the Kratky method good for beginners? Yes. It’s one of the simplest ways to start hydroponics because it’s passive and doesn’t require pumps or electricity.
Do you need an air pump for Kratky? No. The oxygen comes from the air gap created as the water level drops.
What is the best plant for Kratky hydroponics? Leafy greens (like lettuce and romaine) and many herbs are the easiest place to start.
Can you do Kratky hydroponics indoors? Yes. Indoor success depends mostly on having enough light, especially in apartments.
How often do you top off water in Kratky? It depends on container size and plant size. Many people check periodically and top off when low, keeping conditions stable.
The Honest Truth
You don’t need a perfect setup. You need a steady one. The Kratky method is popular for a reason: it lowers the barrier to growing food indoors, especially for busy families who want healthier meals without the chaos.
And if you’re ready for the version that’s built to be repeatable, space-efficient, and simple enough to run even on your busiest weeks, start with the Indoor Mini Farm System.