What Is the Kratky Method?
The Kratky method is a passive hydroponic technique where plants grow suspended over a reservoir of nutrient-rich water — with no pump, no air stone, and no electricity required beyond a grow light. The plant feeds itself as it grows, drawing down the water level and naturally creating an air gap that delivers oxygen to the roots.
It was developed by Dr. Bernard Kratky at the University of Hawaii, and it remains one of the most beginner-friendly ways to grow food indoors. If you’ve ever wanted to try hydroponics but felt overwhelmed by tubing, timers, and equipment, the Kratky method is your entry point.
At Profitable Homesteader, we build indoor mini farms around passive growing systems like Kratky precisely because they’re low-maintenance, low-cost, and reliable enough to produce food and income without constant babysitting.
Choose Your Kratky Next Step
- Building your first tote? Follow the step-by-step Kratky storage-tote build.
- Unsure about filling or refilling? Use the Kratky water-level guide.
- Growing lettuce? Use the Kratky lettuce tote guide for spacing and crop-specific setup.
- Mixing nutrients? See the beginner hydroponic nutrient guide.
- Something looks wrong? Diagnose it with the hydroponic troubleshooting guide.
- Short on time? Use the low-maintenance Kratky guide for busy families.
How the Kratky Method Works
The principle is simple:
- A plant is placed in a net pot filled with an inert growing medium (like clay pebbles or rock wool).
- The net pot sits in a lid over a reservoir of water mixed with hydroponic nutrients.
- The roots reach down into the water to drink.
- As the plant drinks, the water level drops — creating an air gap between the water surface and the net pot bottom.
- That air gap delivers oxygen to the roots. The plant thrives.
- You top off the reservoir occasionally, and harvest when ready.
That’s it. No circulation pump. No timer. No moving parts. The plant manages its own environment as it grows.
What You Can Grow with the Kratky Method
Leafy greens and herbs are the sweet spot for Kratky. They grow fast, don’t need a lot of root depth, and produce repeatedly. Here’s what works best:
- Lettuce — the classic Kratky crop. Ready in 30–40 days, extremely forgiving.
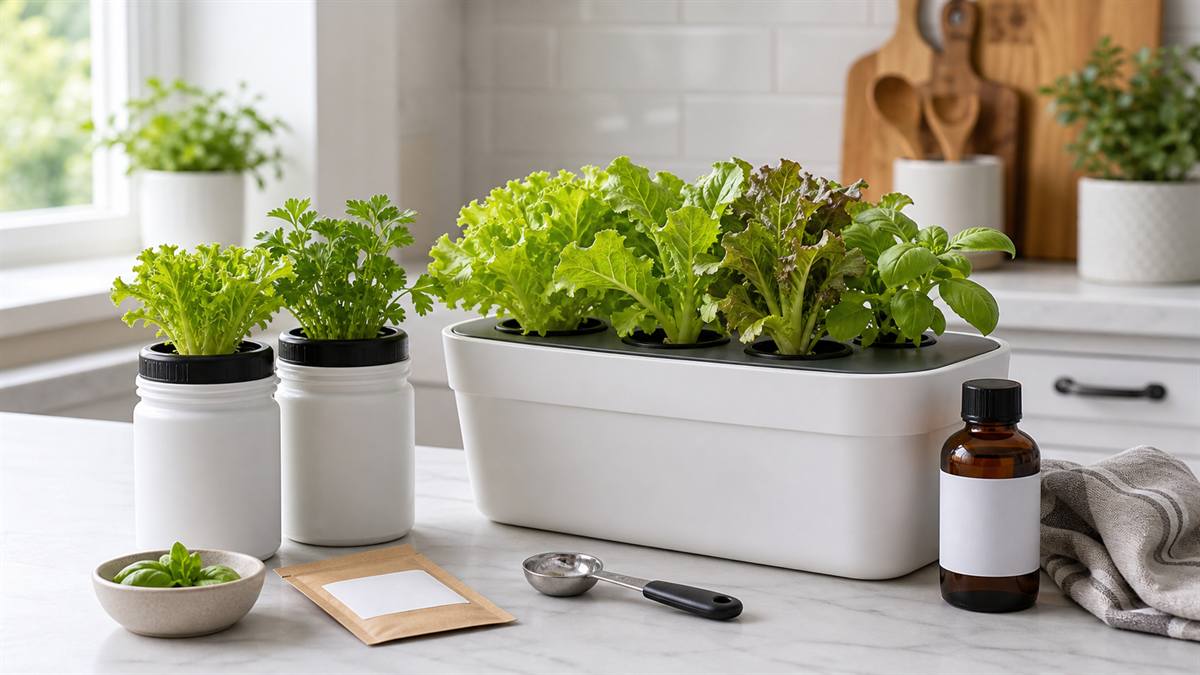
- Basil — one of the most profitable herbs per square foot. Grows beautifully in Kratky jars.
- Spinach — fast-growing and nutrient-dense.
- Kale — grows slower but yields heavily over time.
- Mint — extremely vigorous in Kratky systems. Harvest often.
- Cilantro — best in cooler conditions, but very productive.
- Swiss chard — colorful, large, and great for selling at markets.
Tomatoes, peppers, and cucumbers can be grown in larger Kratky containers, but they require bigger reservoirs and more attention. For beginners, stick to leafy greens first.
What You Need to Get Started
A basic Kratky setup costs $20–$40 and can be assembled in an afternoon. Here’s the full list:
- A container with a lid — a 5-gallon bucket, a mason jar, a plastic storage tote, or any opaque container works. Opaque is key: light causes algae growth in the reservoir.
- Net pots — small mesh cups (usually 2″ or 3″) that hold your growing medium and plant. Cut holes in your lid to fit them.
- Growing medium — clay pebbles (also called hydroton or LECA) are reusable and work great. Rockwool cubes also work for starting seeds.
- Hydroponic nutrients — a two-part liquid nutrient solution (like General Hydroponics Flora Series or MaxiGro) mixed into the water. Follow the package ratio.
- Seeds — any vegetable or herb seed works. Lettuce, basil, and kale are easiest for beginners.
- A pH meter and pH adjustment drops — target pH 5.5–6.5. This matters more than most beginners realize.
- A grow light — unless you have a very sunny south-facing window, you’ll need a simple LED grow light. A 45W panel covers a 2’×2′ area easily.
Step-by-Step: Your First Kratky Setup
Step 1: Prepare your container
Choose an opaque container — a 1-gallon mason jar wrapped in dark tape, a black storage tote, or a purpose-built Kratky bucket. Cut holes in the lid to fit your net pots snugly. The net pot should sit so the bottom dips about ½ inch into the nutrient solution when full.
Step 2: Mix your nutrient solution
Fill the reservoir with water, then add your hydroponic nutrients according to the package instructions. Mix well. Then check and adjust the pH to between 5.5 and 6.5 using pH Up or pH Down solution. This step is non-negotiable — the wrong pH locks out nutrients no matter how much you add.
Step 3: Start your seeds
Pre-soak a rockwool cube or dampen your clay pebbles. Press 2–3 seeds into the rockwool cube or nestle them into the clay pebbles in the net pot. Place the net pot so the bottom just touches the nutrient solution. Seeds germinate in 3–7 days for most greens and herbs.
Step 4: Set up your light
Position your grow light 6–12 inches above your seedlings. Set a timer for 14–16 hours of light per day. Most leafy greens grow fastest with a 16-hour photoperiod.
Step 5: Let the Kratky method do its thing
Check the water level every few days. The water will drop as the plant grows — this is intentional. Don’t top it all the way back up. Leave the air gap. Only top off when the reservoir is getting very low (less than an inch of water remaining). When you do top off, use fresh nutrient solution at the same pH.
Step 6: Harvest
Most lettuce varieties are ready in 30–40 days. Herbs like basil can be harvested continuously — snip the top third and it regrows. For ongoing production, start new seedlings every 2–3 weeks so you always have something coming.
Common Kratky Mistakes (and How to Avoid Them)
Using a clear container. Algae will take over your reservoir if light gets in. Always use opaque containers or wrap clear ones in foil or dark tape.
Ignoring pH. If your plants are yellowing, stunted, or just not growing well, check pH first. It’s the cause of 80% of beginner problems. Target 5.5–6.5.
Topping off with plain water repeatedly. As the plant drinks, it takes up nutrients and leaves some water behind. The solution gradually becomes more concentrated. When you top off, always use fresh diluted nutrient solution — not plain water — to maintain balance.
Filling the reservoir all the way back up. The air gap is essential. Don’t flood it. The roots need both water and oxygen. The Kratky method creates this naturally — trust the process.
Wrong light distance. Too close burns leaves. Too far and plants stretch leggy toward the light. Start at 8–10 inches and adjust based on how your plants look.
Kratky vs. Other Hydroponic Systems
If you’re comparing Kratky to other hydroponic methods, here’s how it stacks up:
| System | Equipment needed | Electricity | Difficulty | Best for |
|---|---|---|---|---|
| Kratky | Container + net pots | Light only | Beginner | Greens, herbs |
| DWC | Air pump + stones | Pump + light | Easy | Greens, some fruiting |
| NFT | Channel + pump + timer | Pump + light | Moderate | Lettuce at scale |
| Ebb & Flow | Pump + timer + trays | Pump + light | Moderate | Variety of crops |
| Aeroponics | Mist system + timer | Pump + light | Advanced | High-value crops |
Kratky wins on simplicity and cost. Its limitation is scale — for large production, active systems like NFT or DWC can run more plants more efficiently. But for a home grower producing food and income from a kitchen table or spare closet, Kratky is hard to beat.
How Much Can You Grow? (And Earn?)
A single 2’×2′ shelf running six 1-gallon Kratky jars can produce roughly 6 heads of lettuce or 6 living herb plants every 30–40 days. At $5–$8 per head of lettuce and $10–$15 per living herb plant, that’s $60–$90 per cycle from six jars — with inputs (nutrients, seeds, electricity) running about $5–$8 total.
Scale that to a 4’×4′ shelf with 12–20 jars and you’re looking at real side income from a space no bigger than a large dining table. Our readers building hydroponic side hustles regularly hit $200–$400/month from setups this size.
Want the complete system — exactly how to set up, what to grow, how to price it, and how to sell it to your neighbors? That’s what the Indoor Mini Farm System covers, step by step.
Kratky Method FAQ
Does the Kratky method need electricity?
The only electricity a Kratky setup needs is a grow light — and even that’s optional if you have a very bright, south-facing window. There’s no pump, no air stone, no timer required for the water system itself.
How often do I need to check my Kratky system?
A quick check every 2–3 days is plenty. You’re looking at water level and general plant health. A mature plant on a 1-gallon reservoir might only need a top-off once every 10–14 days.
Can I reuse Kratky containers?
Yes. After each cycle, rinse the container with a 10% bleach solution, rinse thoroughly with clean water, and it’s ready for the next round. Clay pebbles can be cleaned and reused indefinitely.
What’s the best nutrient solution for Kratky?
General Hydroponics Flora Series (3-part) and MaxiGro are both popular. For leafy greens, a simple “grow” formula works well. Aim for an EC (electrical conductivity) of 1.0–2.0 mS/cm for most greens.
Can I do Kratky without a grow light?
You can try a very sunny south-facing windowsill, but results are mixed — most indoor spaces don’t get enough direct light for fast, productive growth. A basic 45W LED panel is a $30–$50 investment that makes a significant difference in yield and growth speed.
Ready to Build Your First Kratky Setup?
The Kratky method is where most of our readers start. It’s low-risk, low-cost, and produces real results fast. Once you’ve grown your first head of lettuce in a jar on your kitchen counter, the whole idea of a home food production system stops feeling abstract — and starts feeling like a real business.
If you want the full blueprint — from your first Kratky jar all the way to a productive indoor mini farm that sells to your neighbors — the Indoor Mini Farm System has everything laid out for you.
You can also grab our free guide to the top 3 hydroponic superfoods to grow first — the signup is right below.