How to grow fresh food indoors in a kitchen, apartment, or rental — with a pump-free hydroponic setup that fits on one shelf and costs under $100.
Most hydroponic advice is written for people with garages, basements, or at least a dedicated spare room. If you’re working with a studio apartment, a rental with strict rules, or just a kitchen corner, that advice doesn’t fit your life.
Here’s the thing: you don’t need any of that space. A pump-free hydroponic system that lives on a single kitchen shelf can grow more fresh food than most people expect — and it does it quietly, cleanly, and without any modifications to your rental.
This guide covers exactly how to set one up: what it costs, what fits where, what to grow, and how to keep it running on a busy schedule.
Table of Contents
- Why Small Spaces Work Fine for Hydroponics
- The Best Hydroponic Setup for Small Spaces
- Real Cost Breakdown (Under $100)
- Where to Put It: Kitchen, Apartment, and Rental Options
- What to Grow in a Small Space System
- The Weekly Routine (Under 15 Minutes)
- Rental-Friendly: No Modifications Needed
- Frequently Asked Questions
Why Small Spaces Work Fine for Hydroponics
Hydroponics doesn’t scale by floor space — it scales by shelf space. That’s a meaningful difference. A single wire shelf with three tiers gives you the equivalent of a 12–15 square foot growing area stacked vertically in a 2-foot footprint. You can fit that against any wall in any apartment.
The other thing working in your favor: the crops that do best in hydroponic systems — leafy greens and herbs — are also the crops that need the least space per plant. You’re not growing pumpkins. A head of lettuce needs about 8 inches of horizontal space. Six of them fit in a single standard tote.
If you can dedicate one shelf to this, you have enough space for a real system.
The Best Hydroponic Setup for Small Spaces
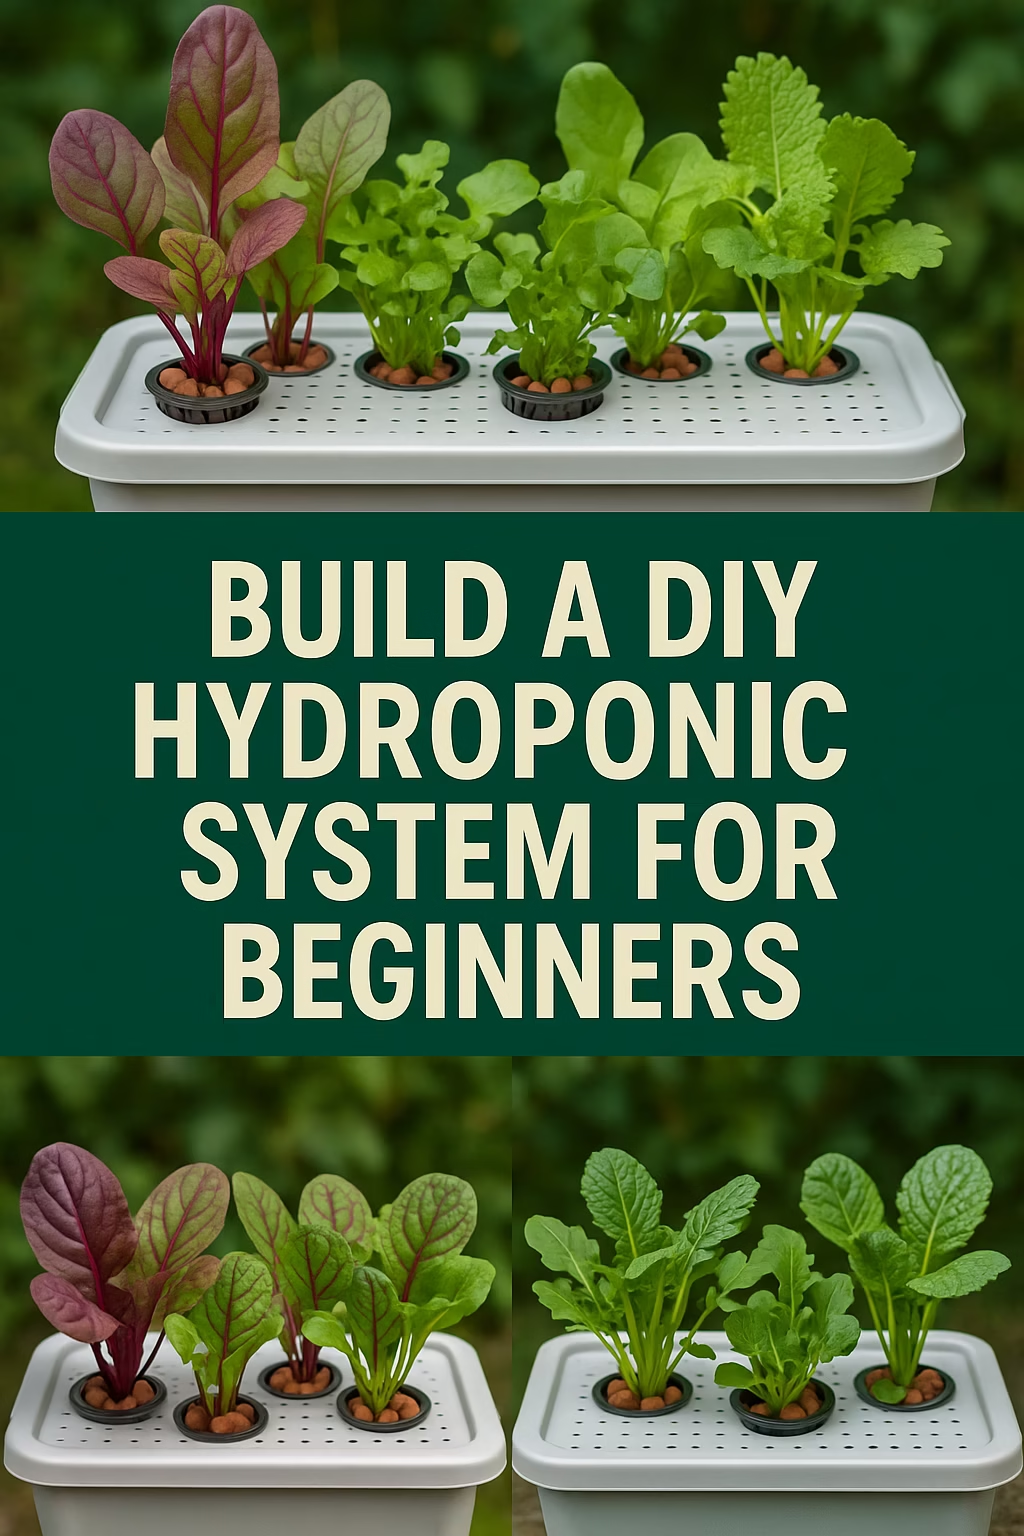
For small spaces — especially kitchens, apartments, and rentals — the right system is a passive Kratky setup using shallow storage totes. Here’s why it wins over every other option:
- No pump. No noise, no electricity beyond the grow light, no tubes running along your floor.
- No water connection. You fill the totes by hand. No plumbing required, no modifications to your rental.
- Shelf-sized. Each tote is roughly the size of a shoebox lid — shallow and wide. Three to four of them sit comfortably on a standard wire shelf.
- Self-contained. Each tote is its own little ecosystem. If one has a problem, the others are unaffected.
- Quiet. The only sound is from the grow light fan, if your light has one. Many LED bars are completely silent.
The countertop hydroponic kits you see advertised — the sleek ones with built-in lights and pod subscriptions — look great but are expensive, produce very little food, and lock you into their ecosystem. A tote-based Kratky system gives you more growing area, lower cost, and complete flexibility, all in a similar or smaller footprint.
This is the same system I run in my own home and teach in the Indoor Mini Farm System.
Real Cost Breakdown (Under $100)
Here’s what a small-space hydroponic setup actually costs to get started. These are conservative real-world numbers, not best-case estimates.
| Item | Cost | Notes |
|---|---|---|
| 2–4 shallow storage totes (opaque) | $6–24 | $3–8 each. Opaque prevents algae. |
| Net cups (pack of 50) | $6–10 | Will last many grow cycles. |
| Rockwool starter cubes | $8–12 | For starting seeds. One sheet lasts a long time. |
| Hydroponic nutrient solution | $15–25 | MaxiGro or GH Flora Series. One bottle = many gallons. |
| Full-spectrum LED grow light bar | $25–40 | Budget options work fine for greens and herbs. |
| pH test kit or drops | $5–10 | A meter ($15–25) is more convenient but not required to start. |
| Seeds | $3–8 | A $4 packet of 200 seeds goes a very long way. |
Total: roughly $68–95 for a complete 3–4 tote system. After the initial setup, your only recurring costs are seeds (pennies per plant) and occasional nutrient refills (a few dollars per month).
If you already have a wire shelf, subtract $30–45 from that total. If you have a bright south-facing window, subtract another $25–40 for the light.
Where to Put It: Kitchen, Apartment, and Rental Options
This is where small-space hydroponics gets specific. Here are the placements that actually work — and the honest tradeoffs for each.
Kitchen Counter or Cart
If you have an underused section of counter, a two-tote setup fits in about 18 inches of horizontal space. The totes are shallow enough that they don’t look out of place next to kitchen appliances. A small clip-on or over-cabinet grow light keeps the footprint minimal. Best for growing herbs you’ll use regularly while cooking.
Wire Shelf Against a Wall
This is the most productive small-space setup. A 4-tier wire shelf (24–36 inches wide) holds 3–4 totes per tier, giving you 9–16 totes in a 2-foot wall footprint. One grow light bar per tier handles the lighting. This is genuinely capable of supplying a significant portion of a household’s greens and herbs year-round.
Hallway or Entryway
Underused hallways make surprisingly good growing spots, especially for herbs that don’t need as much light as lettuce. A narrow 12-inch-deep shelf with a light works well here. As long as the temperature stays above 60°F, most leafy greens will thrive.
Closet with Light
A spare closet with a shelf and a grow light is one of the most effective small-space setups because the walls reflect light back onto the plants and the enclosed space is easy to keep at the right temperature. You’re using space that otherwise stores things you don’t need.
South-Facing Windowsill (No Light Needed)
In spring and summer, a bright south-facing window can provide enough light for herbs and some leafy greens without a grow light at all. This is the lowest-cost starting point. In winter or in apartments with north- or east-facing windows, you’ll need supplemental light to get reliable growth.
What to Grow in a Small Space System
Focus on crops that give you the most food value per square foot of shelf space. For a kitchen or apartment system, these are your best options:
- Lettuce (butter, romaine, leaf) — 30–45 days, very forgiving, produces continuously when cut regularly
- Basil — 28–35 days, high value, fresh basil on a kitchen shelf is genuinely useful every day
- Cilantro — 30–40 days, does well in cooler conditions, one of the most purchased herbs
- Kale — 50–60 days to first harvest, then produces for months from the same plant
- Chives — 20–30 days, virtually zero maintenance, snip as needed
- Spinach — 40–50 days, prefers slightly cooler temps, excellent in smaller apartment spaces
Skip tomatoes, peppers, and cucumbers for your first setup. They need more light, more root space, and more management than a compact system can easily provide. Start with greens and herbs, get comfortable, then expand.
The Weekly Routine (Under 15 Minutes)
One of the reasons this system works so well for busy people in small spaces is how little it demands. Here’s a realistic weekly routine for a 3–4 tote setup:
- Every 3–4 days: Check water levels. Top off with fresh nutrient solution if any tote is getting low.
- Every 3–4 days: Check pH. Adjust with a few drops of pH Up or Down if needed. Takes 2 minutes.
- As needed: Clip lettuce outer leaves for salads, pinch basil tips, harvest herbs as you cook.
- Every 4–6 weeks: When a plant is finished, empty and rinse the tote, mix a fresh nutrient solution, and replant with a new seedling.
There’s no daily watering. No mess. The totes sit quietly on the shelf and the plants do their job. If you travel, a fully filled tote will sustain plants for 5–7 days without any attention.
Rental-Friendly: No Modifications Needed
One of the most common concerns for apartment renters is whether a hydroponic setup requires any wall modifications or poses a leak risk. The honest answer: if you set it up correctly, neither.
- No wall mounting required. A freestanding wire shelf sits on the floor. No screws, no anchors.
- No plumbing. You fill totes with a pitcher or a gallon jug. No hoses, no drain connections.
- Leak protection: Place a waterproof tray or boot tray underneath each shelf tier. If a tote ever drips during refilling, it’s caught. This is a 5-minute setup with any plastic boot tray from a dollar store.
- The system is completely portable. If you move, everything packs into a car in 20 minutes.
This isn’t a garden project that changes your space. It’s closer to keeping a few plants on a shelf — except the output is dramatically higher and the plants are almost impossible to kill.
Frequently Asked Questions
Can I do hydroponics in a small apartment?
Yes — and small apartments are actually well-suited for it. A single wire shelf against a wall is all the space you need. The totes are compact, the system is quiet, and it requires no modifications to the apartment. Most setups fit in 6–8 square feet of floor space while delivering real food output year-round.
Do I need a special room or dedicated space?
No. A kitchen corner, hallway wall, spare closet, or any space with enough room for a shelf and a grow light works fine. The system is self-contained and doesn’t require ventilation, drainage, or any other infrastructure beyond electricity for the light.
Will it smell or attract bugs?
A clean pump-free system has almost no smell — fresh herbs smell pleasant, and the water itself is odorless if the pH is maintained. Bugs are rarely an issue indoors, and when they do appear it’s usually fungus gnats from overwatered seedlings. The Kratky method keeps roots in water rather than damp growing media, which significantly reduces gnat problems.
How much food can a small setup actually produce?
A 3-tote kitchen shelf system — roughly 18 totes per year cycling through — realistically supplies a household with fresh salad greens 4–5 days per week, plus regular herb harvests. It won’t replace your entire grocery bill, but it will meaningfully reduce your spending on fresh produce and put food you actually grew within arm’s reach every day.
What if I want to grow more than just food for myself?
Once the system is running well and you’re producing more than you can eat, selling the excess to neighbors is a natural next step. A living lettuce tote sells for $20–40 to a neighbor who wants to harvest it on their windowsill. That’s the same system — just scaled by one more tote. The hydroponic side hustle guide covers exactly how that works.
If you’re ready to set up your first small-space hydroponic system with a step-by-step guide that covers exactly what to buy, how to set it up, and how to grow food on a real schedule, the Indoor Mini Farm System is where to start.
About the Author
Tyler Brown runs ProfitableHomesteader.com, a site dedicated to sharing side hustle ideas at home – including how he builds tiny indoor mini farms, growing heirloom greens in plastic totes and selling them to local families.
After years of testing containers, crops, and pricing, he built the Indoor Mini Farm System so regular people could skip the trial-and-error and start growing real food (and side income) on a single shelf.
If you’re ready to set up your own pump-free mini farm and start growing food indoors without wasting money on gadgets, you can get the step-by-step guide here: