
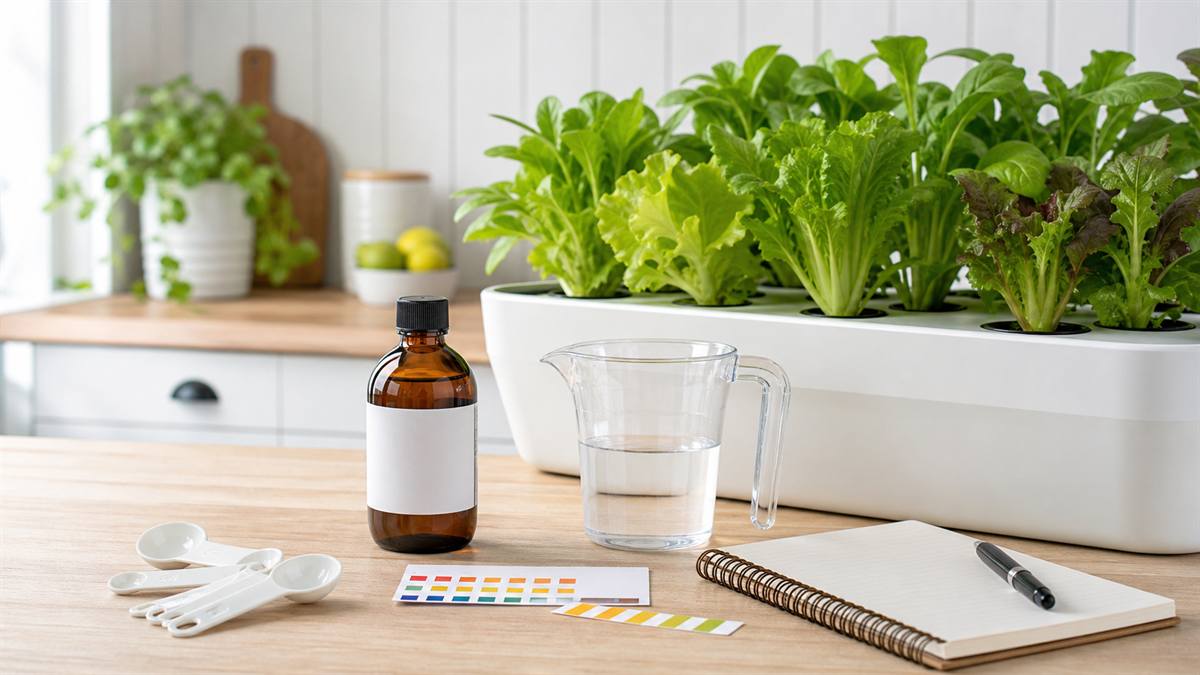
Nutrient solution is the one thing that separates hydroponics from just growing a plant in water. Get it right and your plants grow fast, healthy, and productive. Get it wrong — usually by using the wrong concentration or letting pH drift — and you’ll get yellowing, stunted growth, or plants that just sit there doing nothing.
The good news: for a beginner growing lettuce, herbs, and leafy greens in a Kratky tote, nutrient management is genuinely simple. You don’t need to be a chemist. You need to understand a few basic concepts, buy the right products, and follow a repeatable routine.
Here’s everything you need to know to mix your first batch of hydroponic nutrient solution and keep it working all the way to harvest.
What Hydroponic Nutrients Actually Are
In soil gardening, nutrients come from decomposing organic matter, minerals in the soil, and microbial activity. Plants take them up indirectly, and the process is slow and variable.
In hydroponics, you replace all of that with a liquid nutrient solution — a precise mix of the macro and micronutrients plants need, dissolved directly in water and delivered straight to the roots. The plant gets exactly what it needs, immediately available, in a form it can use without any conversion.
The key nutrients your plants need:
- Nitrogen (N) — drives leafy green growth, the most important nutrient for lettuce and herbs
- Phosphorus (P) — supports root development and flowering
- Potassium (K) — overall plant health, disease resistance, flavor
- Calcium and Magnesium — essential secondary nutrients; deficiencies are common and look dramatic (yellowing, tip burn)
- Iron, manganese, zinc, and other trace elements — needed in tiny amounts; most good nutrient formulas include these automatically
A quality hydroponic nutrient formula covers all of these. You don’t have to buy them separately or mix them yourself from scratch — that’s what the formula does for you.
What to Buy: The Best Beginner Nutrient Formulas
There are dozens of hydroponic nutrient products on the market. For beginners growing leafy greens in a Kratky tote, here are the options that consistently work well and don’t overcomplicate things:
General Hydroponics FloraSeries (3-part)
The most widely used hydroponic nutrient system in the world, and for good reason. It comes in three bottles — FloraGro, FloraBloom, and FloraMicro — that you combine in different ratios depending on the plant’s growth stage. There’s a straightforward beginner mixing chart for lettuce and herbs that takes the guesswork out completely. A starter set costs $20–$30 and will last through dozens of tote refills.
General Hydroponics MaxiGro
A dry powder (rather than liquid) one-part formula that mixes easily into water. Simpler than the 3-part FloraSeries — you just measure a teaspoon per gallon and you’re done. Slightly less flexibility for dialing in specific plant stages, but excellent for beginners who want the simplest possible routine. A small bag costs $12–$15 and goes a long way.
MasterBlend 4-18-38 (with calcium nitrate and Epsom salt)
This is the “tomato formula” that’s become popular in the home hydroponics world, and it works just as well for lettuce and greens. It’s a three-part dry mix — MasterBlend, calcium nitrate, and magnesium sulfate (Epsom salt) — that you combine in a specific ratio. It’s cost-effective at scale and produces excellent results. Slightly more measuring involved, but very popular with growers who want more control at low cost.
What to avoid as a beginner
Skip anything marketed primarily for cannabis growing — these are often high-nitrogen formulas designed for vegetative growth of a specific plant and aren’t optimized for lettuce and herbs. Also avoid generic “plant food” products like Miracle-Gro liquid fertilizer — these are designed for soil and don’t contain the full mineral profile plants need in a soilless system.
Understanding PPM (Parts Per Million)
PPM is a measure of how concentrated your nutrient solution is — how many dissolved solids (nutrients) are in the water. A TDS (total dissolved solids) meter measures this and gives you a number.
You don’t strictly need a TDS meter to get started, but it’s a $12–$15 tool that takes all the guesswork out of mixing. Here are the target PPM ranges for beginner crops:
- Seedlings and cuttings: 400–600 ppm
- Young plants (2–3 weeks): 600–800 ppm
- Established lettuce and herbs: 800–1000 ppm
- Heavy feeders like basil (mature): 1000–1200 ppm
If you’re mixing by the manufacturer’s directions without a TDS meter, start at the lower end of the recommended dose (half-strength for seedlings) and increase as plants mature. You’ll develop a feel for it quickly.
Understanding pH — The Most Important Variable
If there’s one concept to get right in hydroponics, it’s pH. pH determines whether your plants can actually absorb the nutrients in your solution — even if you’ve mixed a perfect nutrient formula, plants in the wrong pH range can’t take it up properly, leading to deficiency symptoms despite a full reservoir.
The scale runs from 0 (extremely acidic) to 14 (extremely alkaline), with 7 being neutral. Most hydroponic crops prefer a slightly acidic range:
- Lettuce: 5.5–6.5 (ideal: 6.0–6.2)
- Basil and herbs: 5.5–6.5 (ideal: 6.0)
- Spinach: 6.0–7.0
- Most leafy greens: 5.5–6.5
Outside this range, specific nutrients become unavailable even though they’re present in the water. Iron, for example, becomes nearly inaccessible above pH 7.0, causing yellowing that looks like nitrogen deficiency but doesn’t respond to adding more nutrients.
How to test pH
Two options:
- pH test drops or litmus strips: $6–$10, accurate enough for beginners, compare color to a chart
- Digital pH meter: $12–$20, more accurate, faster, and easier to read. Highly recommended — calibrate monthly with calibration solution.
How to adjust pH
Buy a small bottle of pH Up (potassium hydroxide solution) and pH Down (phosphoric acid solution). Add a few drops at a time to your mixed nutrient solution, stir, and retest. Go slowly — these are concentrated and a little goes a long way in a full tote.
Most tap water in the US runs pH 7.0–8.0, which means you’ll almost always need to add pH Down to bring your solution into range. This becomes routine after the first couple of mixes.
Step-by-Step: Mixing Your First Batch of Nutrient Solution
What you need
- Your storage tote
- Tap water (or filtered water if your tap has heavy chlorine — letting tap water sit for 24 hours also allows chlorine to off-gas)
- Hydroponic nutrient formula (e.g., GH FloraSeries or MaxiGro)
- pH meter or test drops
- pH Up and pH Down
- TDS meter (optional but helpful)
- Measuring spoons or a small scale
Step 1: Fill the tote with water
Fill to your desired level — typically 2/3 to 3/4 full for a Kratky setup. Leave room for nutrient additions and some displacement when net cups are inserted.
Step 2: Add nutrients
Follow your formula’s mixing instructions for leafy greens at the seedling or vegetative stage. For GH MaxiGro, that’s approximately 1 teaspoon per gallon. For GH FloraSeries, follow the “Vegetative” column on the feed chart, starting at half-strength for your first mix. Stir thoroughly after adding.
Step 3: Measure TDS (optional)
Dip your TDS meter in and check the reading. Aim for 600–800 ppm for young plants, 800–1000 ppm for established lettuce and herbs. Add more nutrient solution in small increments if you need to increase concentration.
Step 4: Test and adjust pH
Test your solution’s pH. It will almost certainly be above 6.5 after mixing with tap water. Add pH Down a few drops at a time, stir, and retest until you reach your target range (5.5–6.5 for lettuce). This usually takes 2–4 rounds of adjustment when you’re starting out; it gets faster once you know how your tap water behaves.
Step 5: Set net cup water level
Set your net cups in the lid holes and confirm that the bottom of each cup just barely touches the solution, or that roots (once they emerge) will reach it within a few days. This is the critical Kratky starting level — too low and seedlings dry out before roots develop; too high and you eliminate the air gap that mature roots need.
If you are unsure how far to refill without flooding established air roots, use the Kratky water-level guide before adding solution.
Ongoing Nutrient Management
How often to check
Check pH every 5–7 days. In a Kratky system, pH tends to drift upward over time as plants consume certain nutrients and the water chemistry shifts. A weekly check and small adjustment keeps everything in range without becoming a chore.
When to top off
In a passive Kratky system, you generally don’t top off until the reservoir has dropped significantly — to about 1/3 full. At that point, add fresh nutrient solution (mixed to your target PPM and pH) to bring the level back up partway. Don’t refill to the top — the air gap that’s formed is important for the mature roots.
When to change the solution completely
For a full grow cycle of lettuce (30–45 days), you typically don’t need to change the solution at all — just top off as needed. For longer-running crops like basil (4–6 months), do a full reservoir change every 6–8 weeks. Dump the old solution (it makes excellent garden fertilizer), clean the tote, and mix fresh.
Quick Troubleshooting Guide
| Symptom | Most likely cause | Fix |
|---|---|---|
| Yellowing leaves throughout plant | pH too high (nutrient lockout) | Test and lower pH to 5.5–6.5 |
| Yellowing between leaf veins (green veins, yellow leaf) | Iron or magnesium deficiency | Lower pH; add CalMag supplement |
| Brown leaf tips | Nutrient concentration too high, or calcium deficiency | Dilute solution; add CalMag |
| Slow growth despite good light | PPM too low, or pH out of range | Check both; adjust accordingly |
| Wilting despite full reservoir | Roots not reaching solution, or root rot | Check root contact; inspect for brown/slimy roots |
Keeping It Simple
The fundamentals of hydroponic nutrients come down to two things: keep pH in range and use a quality complete nutrient formula at the right concentration. Everything else is fine-tuning.
Most beginner problems trace back to pH being too high. Fix that first before assuming anything else is wrong.
The Indoor Mini Farm System ($47) includes specific nutrient mixing guidance for each crop — what formula to use, what concentration to start at, and how to adjust as your plants mature — so you’re not guessing on your first grow. It’s the system that takes you from “I have a tote and a grow light” to a full harvest in 30–45 days, with a clear path to selling the surplus if you want to.