If you’ve ever wanted to start seeds indoors and thought, why does this feel like I’m babysitting a swamp—you’re not imagining it.
When you start seeds in soil, it’s messy. The dirt stays wet in the wrong places, dries out in the wrong places, grows fuzz, attracts tiny flies, and turns “I’m going to feed my family” into “I’m scrubbing a tray at midnight.”
Hydroponic seed starting is the clean version.
No dirt, no mystery smell, no fungus gnat circus.
Just a seed, a little cube, and a simple rhythm that makes strong seedlings you can move straight into a mini farm system that grows real food indoors.
Emily is the kind of person this is made for.
She wasn’t trying to become a gardener. She just wanted the fridge to have something green in it—something she grew—without needing perfect weather, perfect timing, or a backyard.
Her first run was practical: lettuce, basil, a couple easy greens.
And because she’s a little bit stubborn (in the best way), she also started Pixie cabbage—a compact baby cabbage that feels like a real “I grew this” victory without needing a farm to pull it off.
Here’s exactly how to start seeds the clean hydroponic way.
What you need (keep it simple)
- Rockwool cubes or seed-starting plugs (the clean little cubes made for hydroponics)
- A shallow tray
- A clear lid / humidity dome (anything clear that covers the tray)
- A small cup or spray bottle
- A grow light (highly recommended)
- Seeds
That’s enough.
You don’t need a heat mat or fancy inserts. And you don’t need a complicated seed-starting station that takes over your house.
The one thing that makes or breaks hydroponic seedlings
Most people drown them.
Not on purpose—because it looks “responsible” to keep things wet.
But cubes don’t behave like soil. They hold water really well. If they’re soaked all the time, seedlings can’t breathe. The stem stays wet. The roots sit in a swamp. Stuff gets ugly fast.
Your target is simple:
Damp like a wrung-out sponge. Not dripping. Not sitting in a puddle.
If you get that right, you’re already ahead of most people.
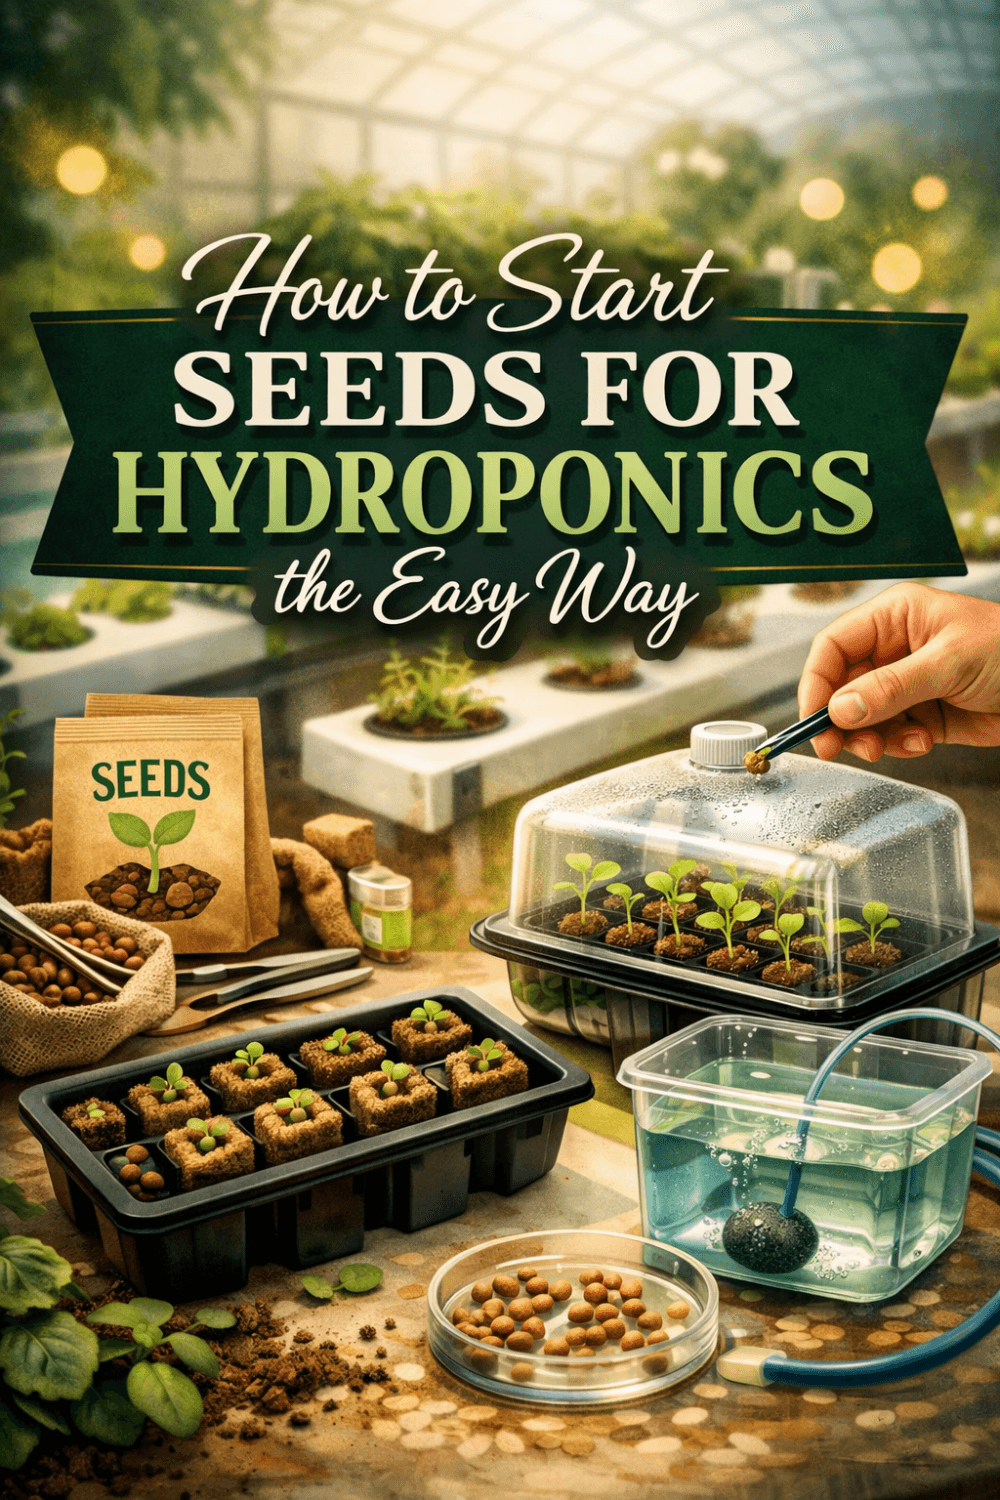
Step-by-step: how to start seeds in rockwool (or plugs)
1) Wet the cubes, then let them stop dripping
Drop your cubes in water until they’re fully saturated.
Then take them out and let the extra water drain off.
A cube should feel cool and damp, but not heavy with standing water. If you set it on the counter, it shouldn’t leave a puddle.
2) Plant the seed
Put 1–2 seeds in the hole.
For leafy greens and herbs, 2 per cube is fine.
For “one plant becomes one harvest” crops (like cabbage), I still plant 2—because germination isn’t a moral issue. It’s math. Later you keep the strongest seedling and remove the other.
Close the hole lightly with your finger. You’re not burying it deep. You’re just making contact.
3) Cover it and walk away (germination phase)
Put cubes in the tray. Cover with the clear lid/dome.
Now the job is humidity + warmth, not constant watering.
If you see condensation on the lid, that’s normal. That’s the little microclimate doing what you want.
If you see a bunch of water pooling in the tray, drain the excess water.
4) The second you see your seedlings sprout, change what you’re doing
This is the moment that separates strong seedlings from the floppy ones.
As soon as sprouts show up:
- Give them light. Not “near a window.” Real light. A grow light directly above the tray keeps stems short and sturdy.
- Give them air. Crack the dome or open vents that same day. Full-time high humidity after sprouting is how you invite mold and stem rot.
- Keep cubes damp, not soaked. You’re still aiming for that wrung-sponge feel.
Emily’s tray looked boring in the best way: clean cubes, small green sprouts, no drama.
When to add nutrients when you start seeds for your garden
Seeds don’t need nutrients to germinate. They sprout on what they already have stored.
Nutrients come later—when the plant has “graduated” from seed mode to growth mode.
The easy checkpoint is true leaves.
- The first two leaves are the baby leaves. They look smooth and simple.
- The next set is the true leaves. They look like the real plant.
Once you see true leaves, you can start feeding your sprouts lightly.
Start weak. Quarter strength of the nutrient system you’ll mix up in the Indoor Mini Farm System is plenty at the beginning. You can increase later.
This is how you avoid burning seedlings and turning a good start into a stall.
When seedlings are ready to move into your hydroponic system
Don’t transplant because the calendar says so. Transplant because the seedling looks ready.
Move them when you see:
- true leaves
- roots starting to show (or clearly filling the cube)
- a sturdy little stem that doesn’t flop over
Emily’s lettuce and greens moved first. The Pixie cabbage took longer—and that’s normal. It’s a slower, heavier plant.
But because it started clean and strong, it didn’t melt the second it got moved.
The watering rhythm that keeps your seeds growing
You’re not “watering.” You’re maintaining moisture.
Pick up a cube.
- If it feels cool and heavy, leave it alone.
- If it feels lighter, add a little water to the tray (not over the top of the cubes—just enough for them to wick up moisture).
Your cubes should not be sitting in deep water.
A thin layer in the tray is fine. A puddle that reaches up the cube is how you create problems.
Why you want to start seeds to feed your family
Seed starting isn’t the goal.
Seed starting is the front door.
The goal is the part that comes next: a simple indoor setup that keeps producing food when the grocery store price jumps again, when the weather is trash, when you’re tired, when life is loud.
Emily didn’t want a hobby. She wanted reliability.
Strong seedlings are how you get there—because once you can start seeds cleanly, you can keep a steady rotation going. You stop being dependent on buying plants or waiting for the “right season.” You build a system that quietly feeds people.
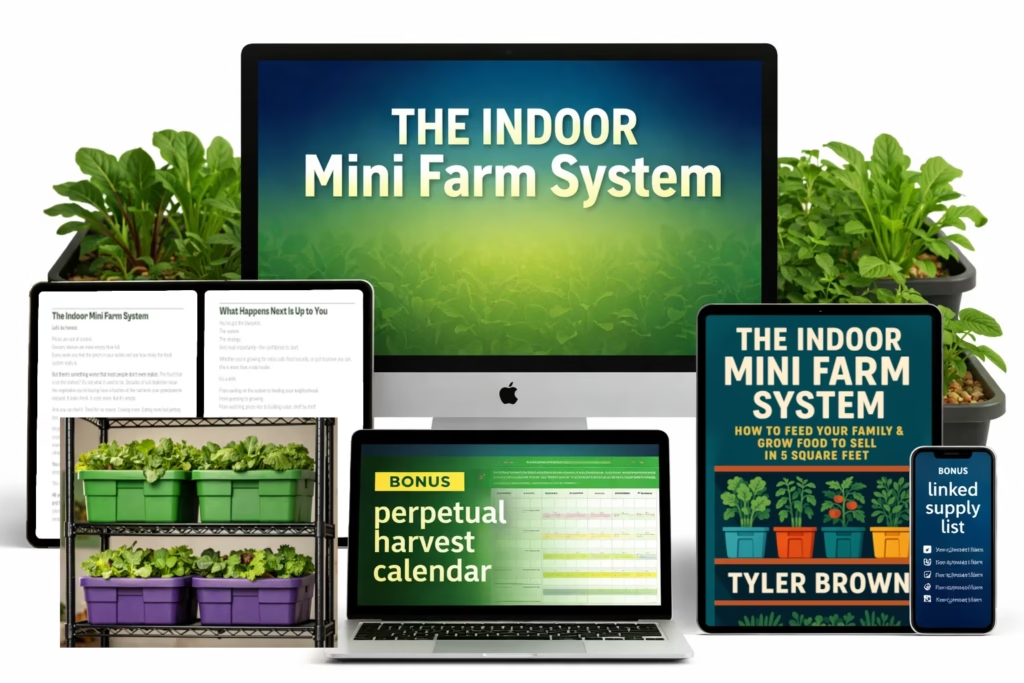
If you want the exact indoor setup that turns these seedlings into real harvests in a small space, check out the Indoor Mini Farm System.